What a Grow and Guide Framework Actually Looks Like
Every grower eventually figures out that success isn't one big decision — it's about fifty small ones stacked in the right order. A solid grow and guide system gives you a repeatable framework so those decisions happen on schedule, not in a panic at 2 a.m. when your leaves start curling. This guide walks through the full lifecycle of a cannabis grow: environment, germination, vegetative, flower, harvest, and post-harvest. Specific numbers, specific timings, no filler.
If you want to track your progress digitally, the Grow Schedule Planner maps out every phase automatically based on your start date and strain type.
Phase 1: Build Your Environment Before You Pop a Seed
The single most common mistake in any grow and guide is dropping seeds before the environment is dialed. Get your room or tent stable first — it's much harder to chase temperature and humidity swings when you already have plants in there.
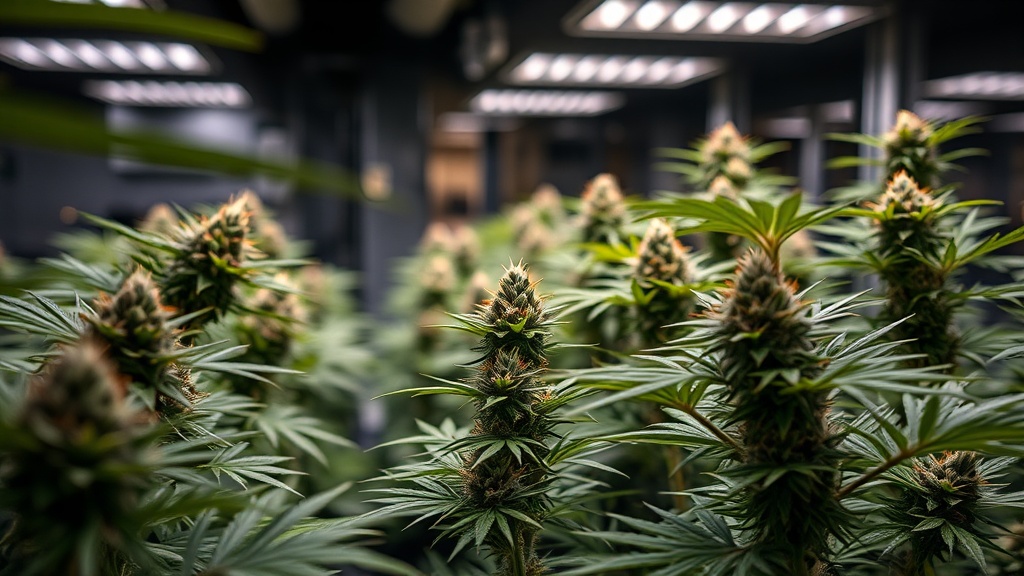
For indoor grows (which account for 73% of the 1,000 grows tracked on Grow Guide), target these ranges:
- Temperature (lights on): 68–77°F (20–25°C)
- Temperature (lights off): No more than 10°F drop to avoid stress
- Relative Humidity (seedling/veg): 55–70%
- Relative Humidity (flower): 40–50%
- VPD (veg): 0.8–1.2 kPa
- VPD (flower): 1.2–1.6 kPa
- CO₂ (ambient): 400–500 ppm; up to 1200–1500 ppm if supplementing
Use oscillating fans to keep air moving across the canopy — this prevents hot spots and dramatically reduces mold risk, especially in the last three weeks of flower when buds are dense. For light positioning, use the Grow Light Calculator to confirm your PPFD is hitting 200–400 µmol/m²/s in seedling, 400–600 in early veg, and 800–1000 µmol/m²/s at peak flower.
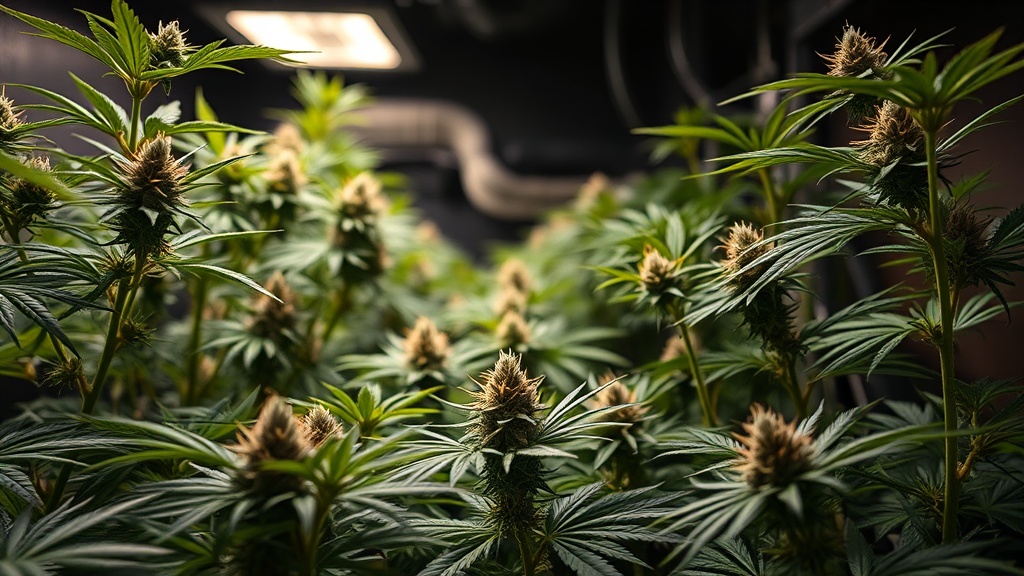
Grow and Guide for the Vegetative Stage: Training That Multiplies Yield
Vegetative growth is where you build the structure that determines your final yield. Cannabis in veg runs on an 18/6 light schedule (18 hours on, 6 off) and will double in size during this phase. Most indoor growers run veg for 4–6 weeks, though auto-flowering varieties skip the photoperiod trigger entirely.
Training Techniques Worth Your Time
Low-Stress Training (LST) is the highest-return technique for beginners and experienced growers alike. Starting at week 2–3 of veg, bend main branches horizontally and secure them with soft ties or plant clips. This breaks apical dominance, encourages lateral branching, and creates an even canopy where every bud site gets direct light. Yields typically increase 20–40% compared to untrained plants under identical conditions.
Topping — cutting the main stem above the 4th or 5th node — creates two main colas from one and is typically done once plants have 4–6 nodes. Combine topping with LST for maximum coverage. For a side-by-side breakdown of aggressive techniques, see Fimming vs Topping Cannabis: 2026 Guide.
SCROG (Screen of Green) works well in tents: run a net 30–40 cm above the pot surface and weave branches through as they grow. Flip to flower when the screen is 70% filled.
The Flower Phase: Where Your Grow and Guide Gets Serious
Switch to 12/12 lighting to trigger flower on photoperiod strains. The first two weeks are "pre-flower" — stretch is normal, buds haven't set yet. By week 3–4, pistils are forming and you should begin ramping up phosphorus and potassium while tapering nitrogen.
Feeding EC Targets by Week
| Flower Week | EC Target (coco/hydro) | EC Target (soil) | pH Range |
|---|---|---|---|
| Week 1–2 (early) | 1.2–1.4 | 0.8–1.2 | 5.8–6.2 / 6.0–6.8 |
| Week 3–5 (build) | 1.6–2.0 | 1.2–1.6 | 5.8–6.2 / 6.0–6.8 |
| Week 6–8 (peak) | 1.8–2.2 | 1.4–1.8 | 5.8–6.2 / 6.0–6.8 |
| Week 9–11 (flush) | 0.3–0.6 | Plain water | 6.0–6.5 |
If you spot yellowing, spots, or clawing, run it through the Nutrient Deficiency Identifier before adjusting. Symptom diagnosis on visual alone is where most mid-grow crises start.
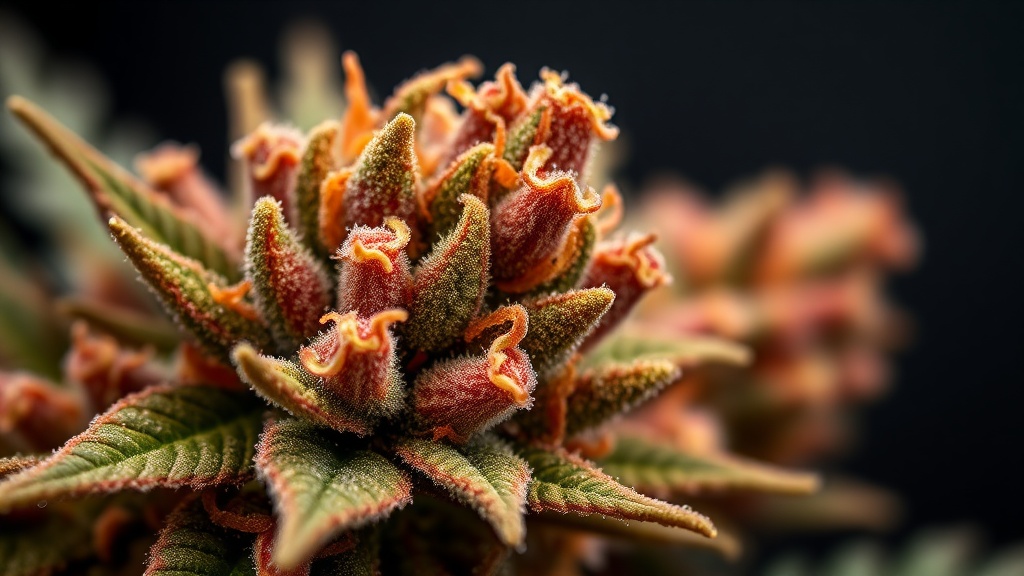
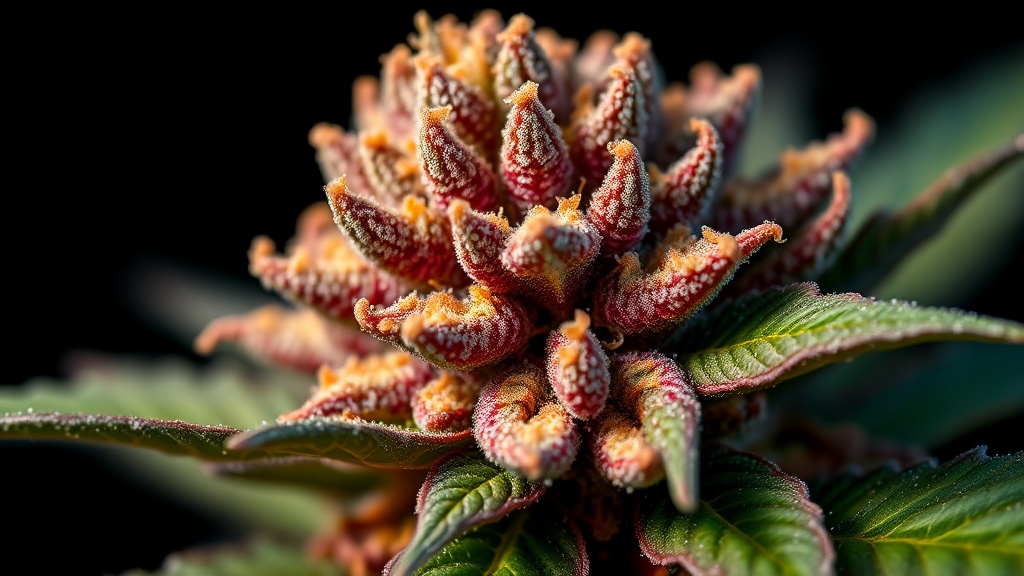
Harvest: Timing It With Trichomes, Not Calendar Days
Breeder flowering times are estimates. The real harvest window is in your trichomes. Pick up a 60x jeweler's loupe or a digital USB microscope — you need to see individual resin glands clearly.
- Clear trichomes: Too early. THC still building, no harvest yet.
- Cloudy/milky white: Peak THC. Energetic, cerebral effect. Most sativa-leaning strains are pulled here.
- 30–40% amber: Degrading THC converting to CBN. More sedative, body-heavy effect. Preferred for indica-leaning strains or medicinal heavy use.
Two to three days before you plan to cut, stop watering. This lowers the moisture load in the plant and speeds initial drying. Harvest in the dark period — either just before lights-on or under darkness entirely — to preserve volatile terpenes that are partially driven off by heat and light. Strip large fan leaves immediately after cutting; they add moisture and no quality.
Before you harvest, plug your numbers into the Yield Calculator to benchmark your expected output against grows of similar setup and strain type.
Dry and Cure: The Phase That Makes or Breaks Your Final Product
Roughly 63% of grows tracked on Grow Guide are grown in soil, and most growers who use soil tend to under-cure — pulling from jars at 2 weeks when the minimum is 4. Don't shortcut this phase. Drying and curing isn't just reducing moisture; it's a slow enzymatic and biochemical process that converts chlorophyll, refines flavor, and smooths smoke.
Drying Protocol
- Hang whole branches (or individual buds on racks) in a dark room at 60–70°F (15–21°C)
- Maintain 45–55% relative humidity throughout
- Run a gentle fan on the walls — not blowing directly on buds
- Target a 10–14 day dry time; faster than 7 days damages terpenes and leaves a harsh smoke
- Test readiness: small stems should snap cleanly, not bend. Buds should feel dry on the outside but slightly spongy in the center
Curing Protocol
Once dried, trim and load into wide-mouth glass mason jars filled to 75% capacity. Tighter than that restricts airflow; looser wastes jar space and risks overdrying.
- Week 1–2: Burp jars 2× daily for 5–10 minutes. If you smell ammonia, buds are too wet — leave lids off for 2–4 hours before sealing again.
- Week 3–4: Burp once daily, then every few days
- Week 5–8: Weekly burp. Flavor and smoothness continue to improve, especially on resinous strains
- Long-term storage: After 8 weeks, store in a cool, dark location with a Boveda 62% humidity pack to maintain 55–65% RH inside the jar
Use the Dry & Cure Timer to track burp schedules and receive reminders — it's the easiest way to stay consistent across multiple strains or jars without keeping a paper log.
Common Problems and the Grow and Guide Solutions
Most mid-grow crises trace back to three root causes: pH drift, overwatering, or light distance. Before you assume a nutrient deficiency, check these first:
- Overwatering: Lift your pot — if it's heavy, don't water. Let soil dry until the top inch is genuinely dry and the pot feels noticeably lighter. Cannabis roots need oxygen cycles; constantly wet soil destroys root health within days.
- Nutrient burn: Brown, crispy leaf tips. Flush with pH-correct water at 3× pot volume, then restart feeding at 50% of your previous EC.
- Light burn: Bleached or tacoing upper leaves. Raise LEDs until PPFD at canopy is below 1000 µmol/m²/s; minimum safe distance for most modern LEDs is 12–18 inches at full power.
- pH lockout: Multiple deficiency symptoms appearing at once, especially after transplant or high-feeding weeks. Flush, recheck input pH religiously. Soil: 6.0–7.0. Coco/hydro: 5.5–6.5.
For nutrient-specific problems, the Nutrient Deficiency Identifier cross-references symptoms against pH level and growth stage, which cuts diagnosis time significantly compared to forum searching.
Keeping a Journal Through Every Stage
The growers who improve fastest are the ones who write things down. Not just what went wrong — but what EC you were feeding on day 30, what your RH was in week 6 of flower, what training technique you used. That data makes the next grow measurably better. If you're new to logging, start with How to Keep a Cannabis Grow Diary for a practical setup guide, or dive deeper into Cannabis Grow Diary: Complete 2026 Guide for the full framework.
For nutrient foundations from day one, see Best Nutrients for Cannabis Seedlings 2026 — starting light at 25% strength and ramping up is consistently the safer approach across every grow medium.
Frequently Asked Questions
How long does a full cannabis grow take from seed to cured jar?
Expect 18–26 weeks total for a photoperiod strain grown indoors: 1 week germination, 1–2 weeks seedling, 4–6 weeks veg, 8–11 weeks flower, 1–2 weeks harvest and dry, and at least 4–6 weeks curing. Auto-flowering strains cut 4–6 weeks from that total by skipping the photoperiod trigger.
What VPD should I target during the flowering stage?
Target 1.2–1.6 kPa during peak flower, dropping slightly to 1.4–1.8 kPa in the final ripening weeks. High VPD encourages transpiration and terpene production; going above 1.8 kPa stresses plants and can accelerate powdery mildew resistance failure.
When should I flush before harvest, and does it matter?
Switch to plain pH-correct water for the final 1–2 weeks when growing in coco or hydro, or the last 7–10 days in soil. Input EC should drop to 0.3–0.6. Whether flushing significantly changes final smoke quality is still debated, but it reliably reduces late-stage nutrient burn and keeps pH stable going into harvest.
How do I know my buds are dry enough to go into cure jars?
The snap test: hold a small stem and bend it. A clean snap means it's ready; if it bends or feels rubbery, give it another 24–48 hours. Buds should feel dry to the touch but retain a slight sponginess at the center — fully bone-dry buds have already lost terpenes and won't cure well.
What's the minimum cure time before cannabis is worth smoking?
Two weeks is functional but underwhelming — chlorophyll hasn't fully broken down and smoke will be harsher. Four weeks is the real minimum for decent flavor. Six to eight weeks is where terpene complexity and smoothness peak on most strains, and some dense, resinous varieties continue improving past 12 weeks.
References
- Clarke, R.C. & Merlin, M.D. (2016). Cannabis: Evolution and Ethnobotany. University of California Press. Foundational text on cannabis biology, resin gland development, and cannabinoid synthesis across growth stages. ucpress.edu
- Caplan, D., Dixon, M., & Zheng, Y. (2017). Optimal Rate of Organic Fertilizer during the Vegetative-Stage for Cannabis Grown in Two Coir-Based Substrates. HortScience, 52(9), 1307–1312. Established EC and feeding rate benchmarks for coco coir cannabis cultivation. doi.org/10.21273/HORTSCI12401-17
- Danziger, N. & Bernstein, N. (2021). Plant Architecture Manipulation Increases Cannabinoid Standardization in 'Drug-Type' Medical Cannabis. Industrial Crops and Products, 167, 113528. Demonstrated that LST and canopy management techniques directly impact cannabinoid uniformity and total yield across plant sites. doi.org/10.1016/j.indcrop.2021.113528
- Burgel, L., Hartung, J., & Graeff-Hönninger, S. (2020). Impact of Different Drying and Curing Conditions on Cannabinoid Content and Terpene Profile of Cannabis. Plants, 9(6), 721. Confirmed that slow drying at 60–70°F and extended curing preserves terpene profiles; rapid drying caused up to 30% terpene loss. doi.org/10.3390/plants9060721
- Grow Guide Platform Data (2026). Internal analytics across 1,000 tracked grow journals: 73% indoor, 63% soil medium, 55% manual feeding. Original dataset — Grow Guide, growguide.app.