Why an Autoflower Journal Is Different From a Regular Grow Log
Photoperiod growers have the luxury of time — they can reset a bad week by extending veg, dial in their environment gradually, and course-correct before flipping. Autoflowering cannabis gives you no such second chances. Once the clock starts, it doesn't stop. A plant that suffers nutrient burn at day 21 will still be pushing into flower by day 30, carrying those stress symptoms into your bud sites. That's exactly why an autoflower journal needs to be more granular, more consistent, and more actionable than any other grow log you'll keep.
Autoflowers — derived from Cannabis ruderalis — transition from vegetative growth to flowering based on age, not light cycle. Most modern cultivars complete their full lifecycle in 8–12 weeks from seed. With that compressed timeline, a 3-day gap in your records can represent 4–5% of the entire grow. Data you skip is a mistake you'll repeat.
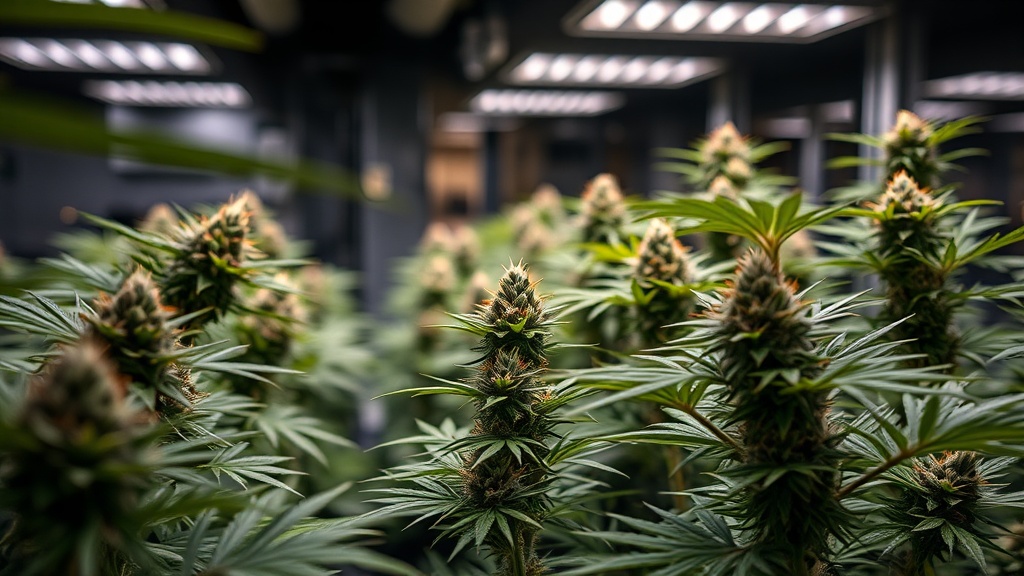
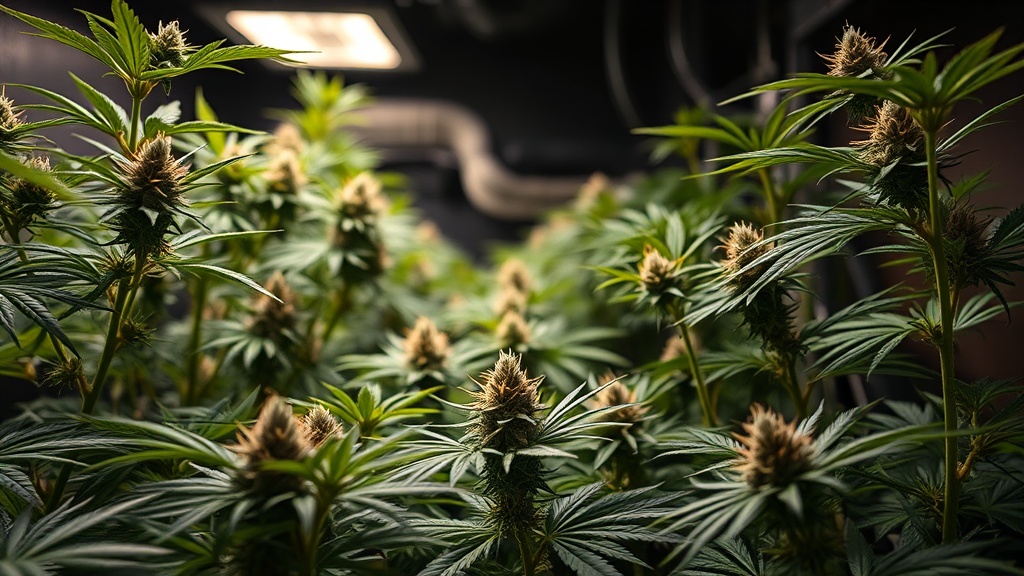
On the Grow Guide platform, 734 of the 1,000 tracked grows are indoor — the environment where autoflowers absolutely dominate because growers control every variable. If you're one of those indoor growers, your journal is your control panel. Here's how to run it properly.
What to Log in Your Autoflower Journal — Stage by Stage
Seedling Stage (Days 1–7)
Your seedling is fragile and easy to kill with kindness. Log the following every day during this window:
- Temperature: Target 24–26°C. Drops below 20°C will stall germination and early root development.
- Relative Humidity (RH): 75–85%. Seedlings drink through their leaves until roots establish — don't let it drop.
- Light distance and intensity: Run your LED at 20–25% power or keep it 50–60 cm above the seedling. Note any stretching, which indicates insufficient PPFD.
- Watering volume: 20–50 ml around the base, not directly over the stem. Log every water event and note whether the soil surface has dried before you water again.
- Nutrient PPM: 100–200 PPM max, or plain water. Log your input pH (6.3–6.7 for soil, 5.8–6.2 for coco).
Many first-time autoflower growers over-intervene during this stage. Your journal will make the pattern obvious — if you're watering daily, you'll see it on paper and know to stop. See our guide on best nutrients for cannabis seedlings for exactly what to feed (and what to skip) in week one.
Vegetative Stage (Days 8–21)
Growth accelerates. Your journal entries should shift from daily damage-control to active performance tracking:
- Node count and internode spacing: Healthy autos develop tight internodes. Wide gaps indicate light is too far away or intensity is too low.
- Training notes: If you're running Low Stress Training (LST), log every tie-down — the date, which branch, and the direction. This gives you a before/after picture when you review at harvest. Avoid topping or FIMming; autoflowers have no recovery buffer. For a detailed comparison of why, read our fimming vs. topping guide.
- Nutrient EC/PPM: Ramp up to 600–800 PPM. Log both input and runoff EC — a rising runoff EC signals salt accumulation before visible symptoms appear.
- VPD: Target 0.8–1.0 kPa in veg. If you're not measuring VPD yet, start. Temperature and humidity alone don't tell the full story.
- Light schedule confirmation: Note your actual on/off times. An 18/6 or 20/4 schedule maintained consistently through the full lifecycle outperforms any light manipulation trick.
Pre-Flower and Stretch (Days 22–35)
This is the stage most growers under-document. The plant stretches 50–100% in height and the first pistils appear. Log:
- Height measurements every 2–3 days. If your plant doubles in height unexpectedly, you need to know your canopy-to-light distance before you burn the tops.
- First pistil sighting date. This is your official flowering start — every harvest timing calculation runs from this date.
- Nutrient bridge: Transition from grow to bloom nutrients. Ramp PPM to 900–1,100. Log any signs of deficiency — yellowing lower leaves during stretch is normal nitrogen drawdown, not a problem.
- Training adjustment notes: LST ties need loosening as branches fatten. Log every adjustment.
Use the Grow Schedule Planner to map out your nutrient transition and flush windows from this pistil date forward — it removes the guesswork on timing.
Full Flower to Harvest (Days 36–84)
The longest and most critical phase. Your autoflower journal entries here feed directly into your harvest decision. Log:
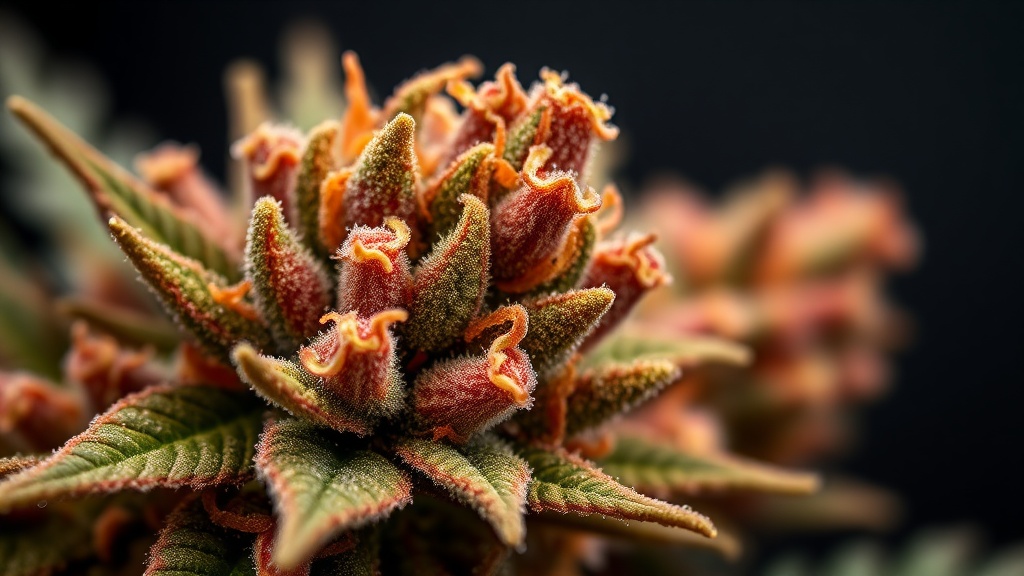
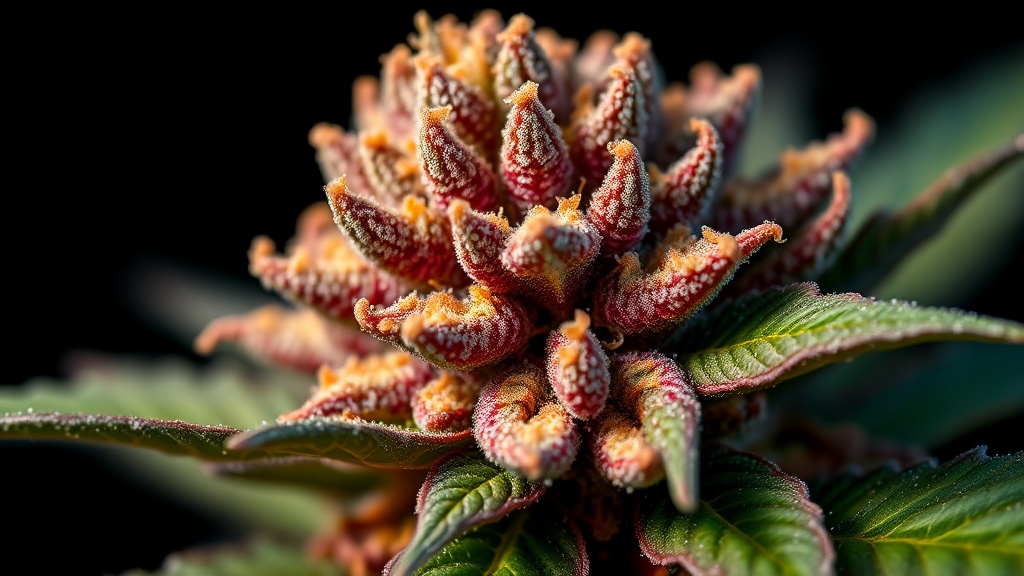
- Trichome status (weekly minimum): Clear → cloudy → amber. Harvest when 70–90% of pistils have darkened and trichomes are predominantly cloudy with 10–20% amber for a balanced effect.
- Humidity management: Drop RH to 45–55% to protect dense buds from botrytis. Log your daily high and low RH readings — not just your target.
- Nutrient taper and flush: Begin reducing PPM at week 7–8 of flower. Log your final flush date, input EC (0–100 PPM plain water), and runoff EC — aim to get runoff below 500 PPM before chop.
- Defoliation events: Note any fan leaf removal, the date, and what percentage of canopy you removed. This helps you calibrate next time.
Autoflower Journal: Nutrients and Environment Targets by Week
One of the most valuable things your journal can do is reveal nutrient drift over time. Autoflowers are sensitive to overfeeding — start at one-quarter recommended strength and increase incrementally. Log every feed in detail: what product, what dilution, input EC, and runoff EC. Here are the targets to track against:
| Stage | Days | Temp (°C) | RH (%) | PPM Target | Soil pH |
|---|---|---|---|---|---|
| Seedling | 1–7 | 24–26 | 75–85 | 100–200 | 6.3–6.7 |
| Vegetative | 8–21 | 22–24 | 60–70 | 600–800 | 6.3–6.7 |
| Pre-Flower | 22–35 | 22–25 | 55–65 | 900–1,100 | 6.3–6.7 |
| Full Flower | 36–63 | 20–24 | 45–55 | 1,000–1,200 | 6.3–6.7 |
| Flush / Harvest | 64–84 | 18–22 | 40–50 | 0–100 | 6.5 |
If you're growing in coco or hydro, run pH at 5.8–6.2 throughout. For organic soil growers, you can often water with plain water at 6.5 and let the living soil do the work — but you still need to log every input. See our best organic nutrients guide for auto-compatible product recommendations.
If you spot a deficiency mid-run, don't guess. Use the Nutrient Deficiency Identifier to cross-reference your symptoms with your logged runoff EC and pH — most deficiencies in autoflowers are actually lockout from pH drift, not a true nutrient shortage.
Logging Light: PPFD and the Autoflower Journal
Seventy-three percent of grows tracked on Grow Guide are indoor — meaning light is your single most controllable variable and the one most growers log least accurately. "I have a 200W LED" tells you almost nothing about what your canopy is actually receiving. Log:
- PPFD at canopy level (µmol/m²/s): Target 200–400 in seedling, 400–600 in veg, 600–900 in flower. Use a PAR meter or the Grow Light Calculator to estimate coverage.
- Light distance from canopy (cm): Log every time you raise or lower your fixture. This is the most common unlabeled data gap.
- DLI (Daily Light Integral): For a 20/4 light schedule, target 35–45 mol/m²/day in flower. Calculate it as: PPFD × (hours × 3600) ÷ 1,000,000.
Consistent 30–40 watts of quality LED per square foot is a reliable rule of thumb, but your journal should capture measured PPFD — not just wattage.
Harvest, Dry, and Cure — Close the Loop in Your Journal
Most autoflower journals stop at chop. That's leaving the most useful data on the table. Log your post-harvest process with the same discipline:
- Chop date and final height/weight of wet plant
- Drying conditions: Target 18–20°C and 50–60% RH in a dark, ventilated space. Log daily temperature and humidity. Rushed drying (under 7 days) destroys terpene profiles.
- Dry time: 7–14 days until small stems snap clean.
- Cure jar notes: Fill jars 75% full. Burp daily for 5–10 minutes for the first two weeks, then every 2–3 days for weeks 3–4. Log smell, moisture feel, and any mold checks.
- Final dry weight and yield per plant
Use the Dry & Cure Timer to schedule your burping sessions and get alerts — it syncs directly with your grow journal entries so you don't lose track mid-cure. Once you have your final weight, run it through the Yield Calculator to benchmark against your setup's theoretical maximum and set a target for your next run.
How to Structure Your Autoflower Journal for Repeatability
Your journal is only as useful as your ability to act on it. Structure each grow with these three sections:
- Setup page: Strain, seed source, pot size (target 10–15 litres / 3–4 gallons for autos), medium, light model and wattage, tent dimensions, start date.
- Daily log: Use the four-column structure shown in the diagram above — Environment, Nutrients, Plant Observations, Actions Taken. Keep it short — bullet points beat paragraphs.
- Harvest summary: Final height, dry yield, cure notes, what worked, what to change. This is the page you read before starting your next grow.
If you want a proven template structure for the diary format itself, our cannabis grow diary guide covers the full framework, including how to use photos effectively alongside written entries. And for the specific discipline of daily note-taking, how to keep a cannabis grow diary walks through the habits that separate growers who improve quickly from those who repeat the same mistakes.
For growers who want to understand what their finished product actually contains, run your strain through the Terpene Explorer once you've got a harvest date — cross-referencing your cure notes against terpene profiles helps you calibrate future harvest timing for the nose you're chasing.
Common Autoflower Journal Mistakes to Avoid
- Skipping runoff data: Input EC/pH alone is insufficient. Runoff tells you what the root zone is actually experiencing.
- Not logging light distance after LST: Bending branches changes canopy height unevenly. Note your lowest and highest canopy points, not just a single measurement.
- Journaling only when something goes wrong: A problem-only log gives you no baseline to compare against. Healthy days matter as much as sick ones.
- Stopping the journal at harvest: Dry and cure data closes the feedback loop. Without it, you can't know whether a short cure or rushed dry is costing you quality.
- Over-adjusting from a single data point: One high-pH reading doesn't mean your plant is locked out. Log three consecutive readings before changing anything.
Frequently Asked Questions
How often should I make entries in my autoflower journal?
Daily entries are ideal for the first two weeks and during pre-flower stretch (days 22–35). In stable mid-flower, every other day is acceptable as long as you're logging feed events and trichome checks weekly. Never go more than 3 days without an entry — with an 8–12 week lifecycle, that's a significant data gap.
What's the single most important metric to log in an autoflower grow?
Runoff EC/PPM. It's the only direct window into your root zone's salt load, and rising runoff EC predicts nutrient burn and pH lockout before symptoms appear on leaves. Pair it with input pH and you have the two data points that prevent most autoflower feeding problems.
Can I use a paper journal or do I need an app?
Either works, but digital logs let you search entries, track trends over multiple grows, and attach photos. The key is consistency — a paper notebook you write in every day beats an app you open once a week. Use whatever format you'll actually maintain.
When should I start my autoflower journal — at germination or at seedling emergence?
Start at germination — log the water temperature, soak time, and date you put the seed into its germination medium. Day 1 of the journal is the day the seed went into medium, not when the seedling emerged. This gives you accurate total lifecycle data at harvest.
How do I use my autoflower journal to improve my next grow?
Before starting a new grow, read your previous harvest summary first. Identify the 2–3 data points that diverged most from targets (e.g., RH spiked in week 6, runoff EC climbed above 2,000 µS). Build those corrections into your setup page for the next run before you ever germinate a seed.
References
- Seedsman (2024). "Avoid These Mistakes When Growing Autoflowers." Common cultivation errors including overfeeding and incorrect lighting identified through grower case studies. seedsman.com
- Cannapot Cannabis Wiki (2024). "Growing Autoflowering Cannabis." Details on light schedules, pot sizing (10–15L), LST techniques, and harvest timing indicators for Cannabis ruderalis-derived cultivars. cannapot.com
- Weed Seeds Express (2024). "Autoflower Nutrients Guide." Stage-by-stage PPM targets (100–200 seedling through 1,000–1,200 full flower) and pH ranges for soil (6.3–6.7) and coco/hydro (5.8–6.2). weedseedsexpress.com
- Herbies Head Shop (2024). "How to Grow Autoflowering Cannabis." Drying protocols (18–20°C, 50–60% RH, 7–14 days) and curing methodology (75% full jars, daily burping for 2 weeks). herbiesheadshop.com
- Seeds Here Now (2024). "How to Grow Autoflower Seeds." Overwatering prevention (top inch dry before rewatering) and nutrient sensitivity guidance (start at ¼ strength). seedsherenow.com