Grow Timeline (34 updates)
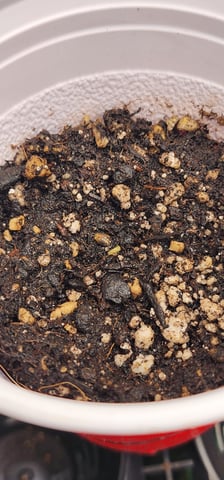
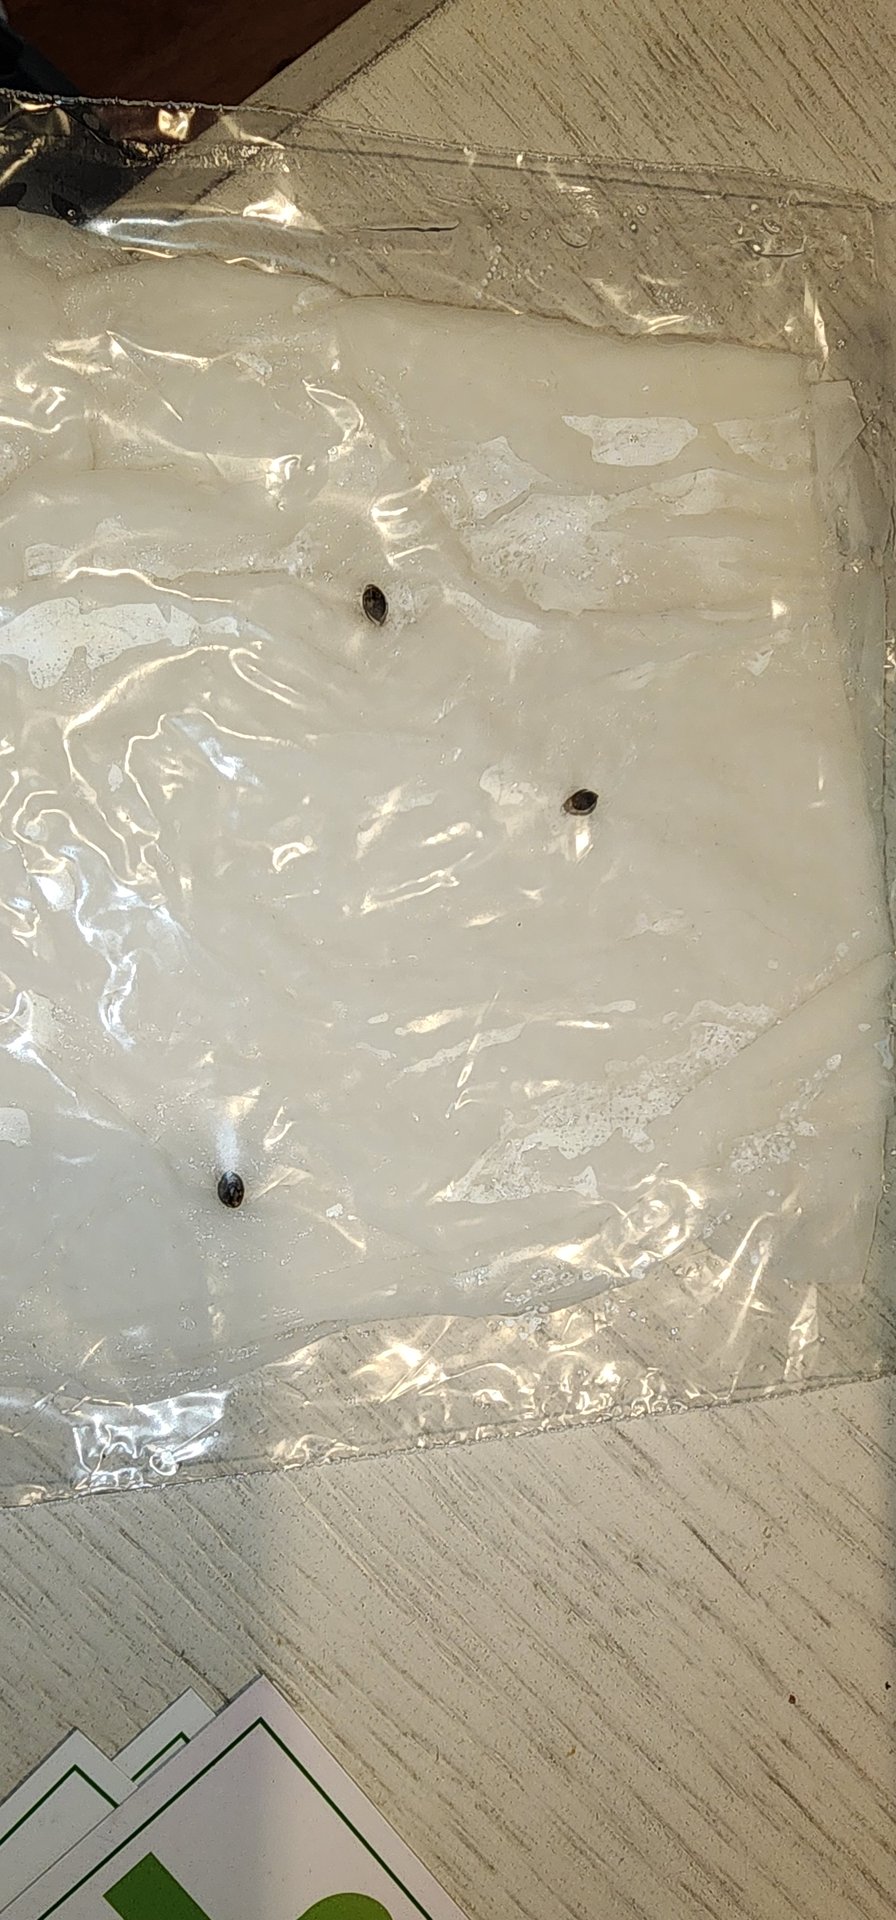
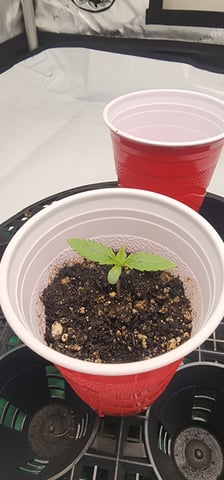
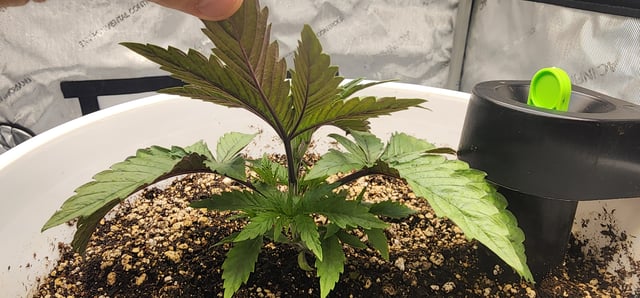
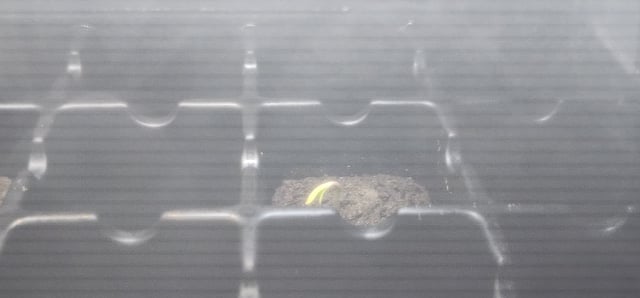
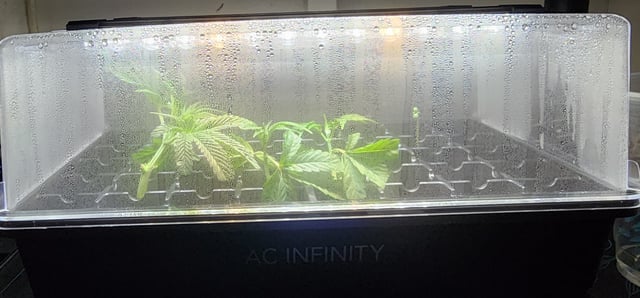
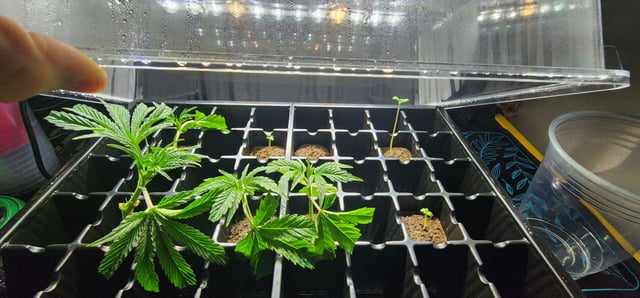
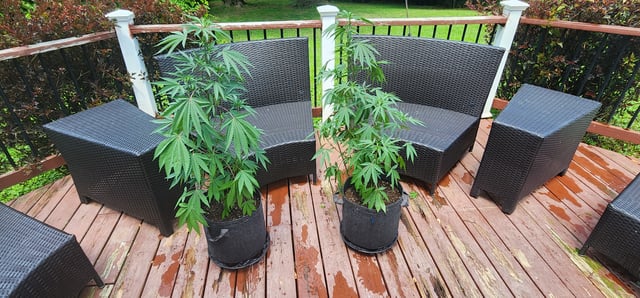
Ones looking great not sure if the other is root rotted or about to spring out.... 3rd buried too deep and the painters tape over clear cup wasn't blocking all the light serious lessons learned. Now to nurse the one to maturity and take a stab at some clones
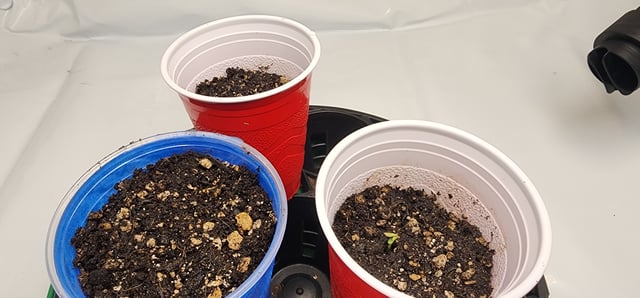
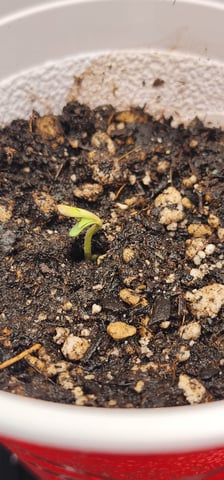
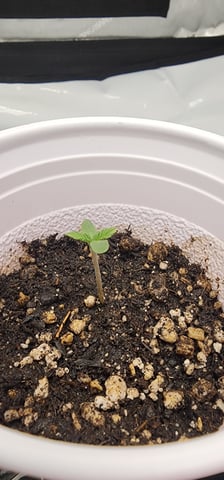
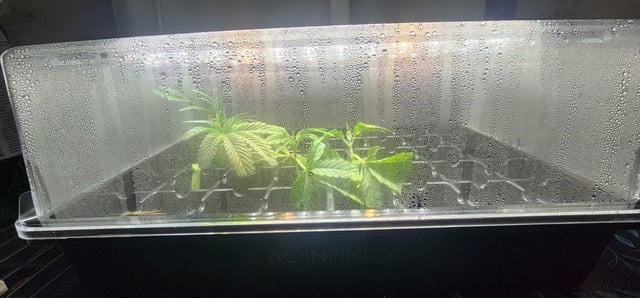
Lost two seedling to root rot from over watering and over compacting the soil. This lady is looking good top soil still slightly moist so not water at this time
I donate thing. I now grow on 70/30 coco perlite mother earth that way if something happens you can flush and let dry out and fix quicker than soil.
Appreciate the suggestion. I will be looking into Coco for my next run in the future

did u say u using the self watering pots ? monitor how much water is in the bottom half of the soil .they can saturate bottom half & top half is dry . careful is don’t get any root rot . I wait to they a good healthy size before using them .
Yeah using some grobucket sip buckets for the grow. If you check my latest post I have done the transplant already. Will be monitoring the soil to make sure it's wicking correct with the potting mix.
is that something like those grow buckets ? I find them better then the ac infinity self watering bases
is that something like those grow buckets ? I find them better then the ac infinity self watering bases
Yeah it's a grow bucket but it takes one 5 gallon bucket and converts it to a sip bucket instead of the DIY ones that are normally 2 5 gallon buckets
is that the grow buckets from the makers of recharge & grow dots ?
Not the real bucket system that Steve uses but exact same principle applies in how it functions the buckets are just stand alone. They do sell an irrigation kit if you wanted to make them a connected system. They are called grobucket one word
let me ask u question. do u have to wait for plant to be certain size or u can just transplant straight in? I never used hydroponics or any of these grow buckets.
let me ask u question. do u have to wait for plant to be certain size or u can just transplant straight in? I never used hydroponics or any of these grow buckets.
So with the system I am using I will have to top water the first few times to get the wicking working and to ensure the top soil can provide for the roots untill established. Once the wicking and roots are working you just fill the res using the pvc tube and it will Wick up to the roots in the soil and the top soil will stay dryer in theory leading to lest pest or mold chances
So with the system I am using I will have to top water the first few times to get the wicking working and to ensure the top soil can provide for the roots untill established. Once the wicking and roots are working you just fill the res using the pvc tube and it will Wick up to the roots in the soil and the top soil will stay dryer in theory leading to lest pest or mold chances
sounds like a good system. how often u filling the reservoir?
This will be my first time using them. from other grow journals online of folks using them with heavy feeding are watering every 7-10 days which should make my feeding schedule for liquid fertilizer quite a bit easier. Follow the grow and we will see how it turns out. I have two more buckets so if this run is successful I will be running 3 in my 3x3 the next grow.
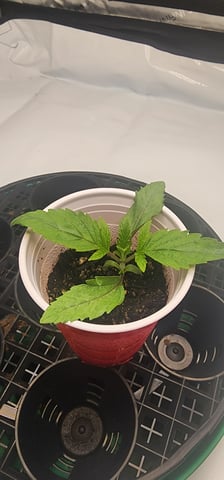
Ended up having to leave for extended period and was worried about my seedling. Bottom feed her with filtered water untill she couldn't asorb any more then left at an angle for 15 mins to drain and topped off the humidifier. Humidity for down to 45% once the humidifier ran out of water but she's still growing strong and soil still moist. Filled up humidifier and will most likely give some nutrients tomorrow.
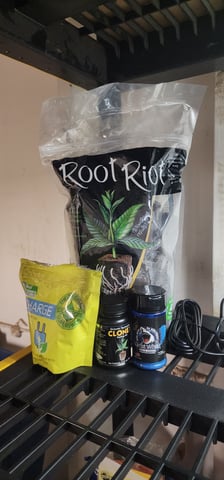
add a little more soil & leave an inch from the top & only use a spray bottle to mist around the base . I always pop my beans straight into the soil . I use seed starting soil no nutrients. I’ll either use jiffy pots or root riot cubes & both go straight into soil never have transplant issues . good luck
Hey CannaBee, Appreciate the advice. This was some of the advice given to me as well when I took a trip to a hydro store that had some knowledgeable folks running it. A bit after the initial germination and planting process albeit... If I add more soil at this point I'd have to trim it's bottom leaves it seems. Would that be the right move or is it better to trim the cup a bit so the bottom leaves can grow out better? Don't want to stress the plant out and kill the only seedling that made it out alive.
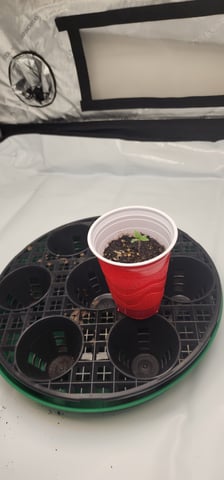
don’t cut any leaves . u can add with a spoon or leave it & u be ok . if u start in solo cup then try this out . get the clear solo cup or similar to a solo cup . put few holes in bottom of clear cup . fill that with the soil & u plant in the clear cup. take the red cup & use that on outside of other cup . Now u be able to lift the red cup up & see if the roots are growing. I use this trick for clones
great advice. I take it one step further. put 3 vertical cuts in the clear cup from rim to bottom. essentially the cup is only held together by the bottom. it'll stay together while it's nestled in red cup, but come transplant time you can peel back the sides and it'll just leave you with the soil plug. I don't know if that makes sense, I didnt do the best job explaining it
I know what u saying . if I start in solo cups & it time to put in a pot . I will cut the sides & peel back the plastic & it comes right out especially if it dries a bit . clear cup inside of red cup is so u able to see all the roots , works better for when u do clones . this way u know it has roots

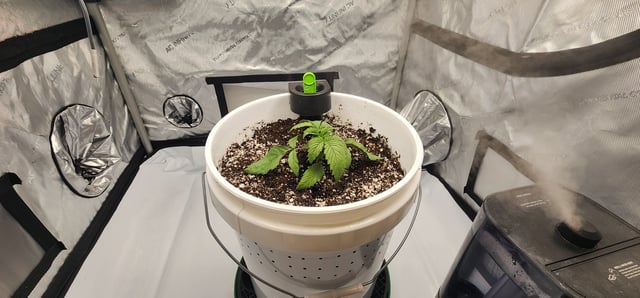
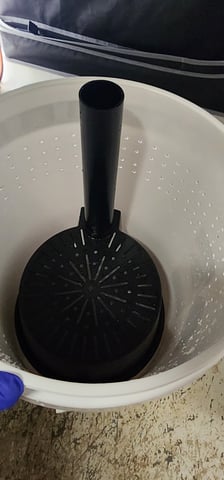
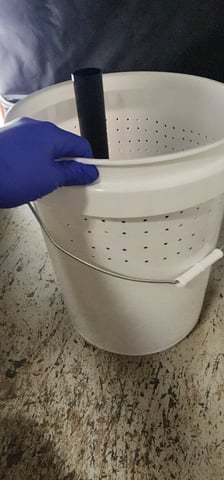
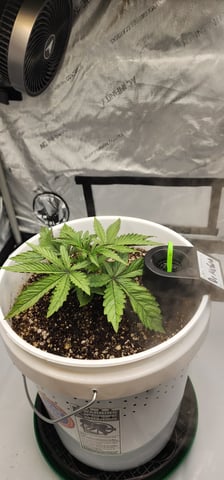
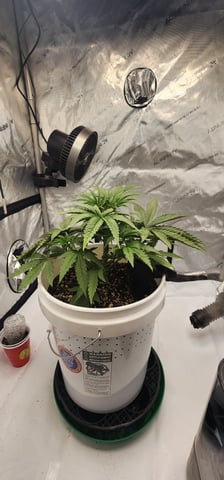
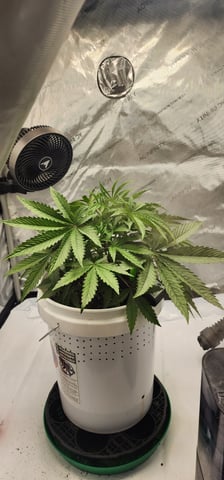
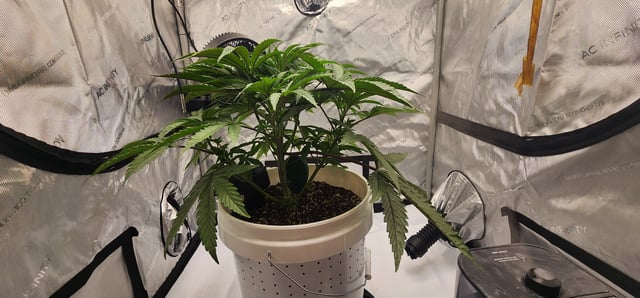
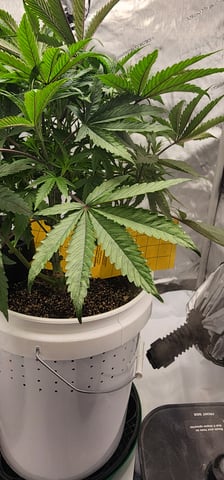
The girl was sipping water fast over night and she was showing lack of water. Went ahead with the transplant over to the grobucket following their instructions using roots organic potting mix. Made some modifications to the bucket by adding some air wicking holes along the side after I saw it suggested by a tomato farmer on YouTube who uses these buckets to cause better root development.
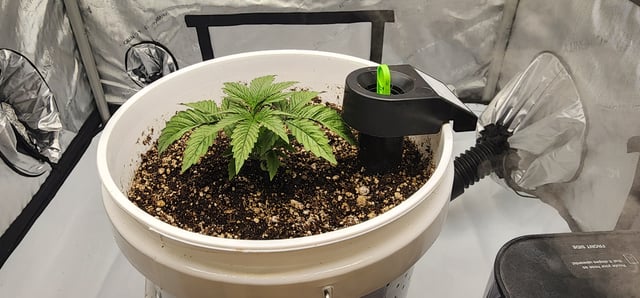

What's that gadget? Soil moisture sensor?
The feeding tube for the watering insert in the bucket. Look up grobuckets or DIY sip bucket
The feeding tube for the watering insert in the bucket. Look up grobuckets or DIY sip bucket
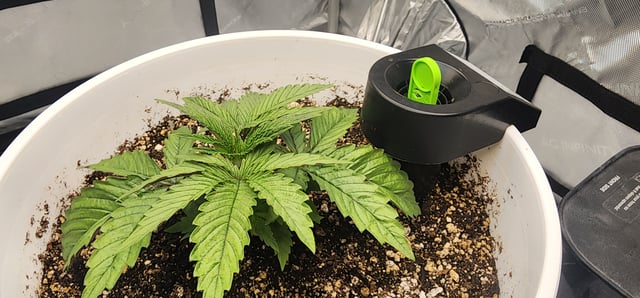
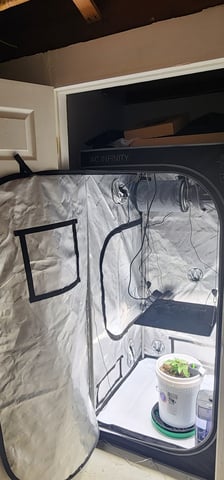
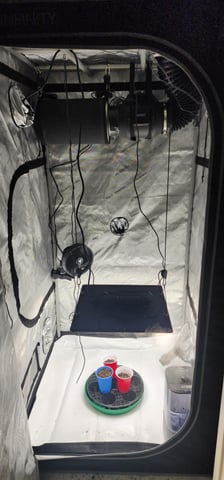
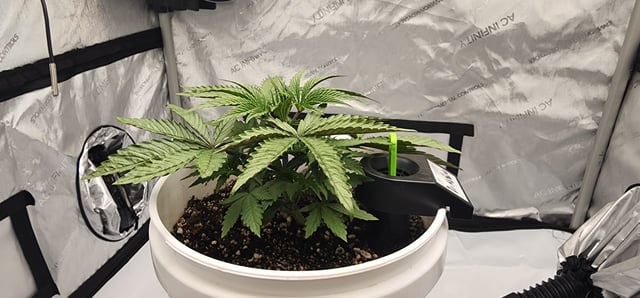
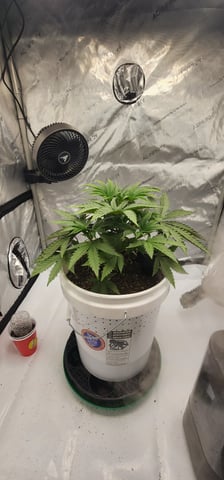
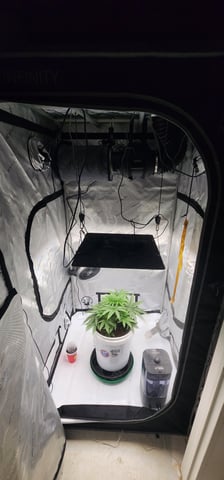
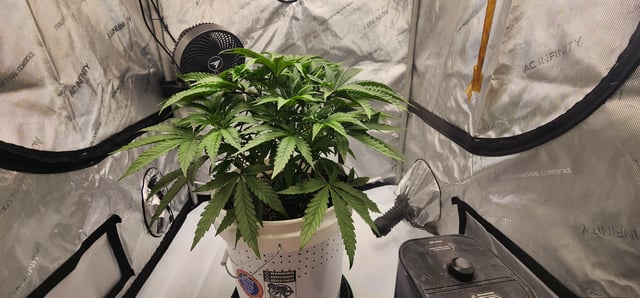
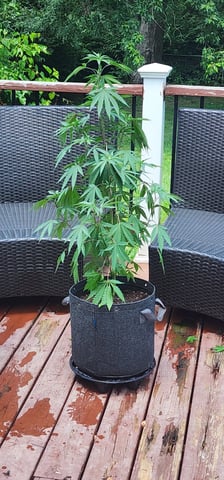
Lady is drinking and the sip bucket is working well. Added a air purifier to the intake to help keep pest and dust out. Also added velcro to door of closet to help keep tent door open while I work. Found a house air freshener want to try when the plant starts getting smelly
I use screen on the duct coming out . I double up on screen & rubber band it then I use silver duct tape to hold it in place works great . If smell is a problem then u can add dryer sheet over the screen . whatever works
I had just screened it off with a fine pest screen but it was lacking some inflow so thought this purifier with the built in fan may help circulate the air better. In the end it performs about the same as the screen just with a better filtration now. I have a inline fan laying around I will most likely use the booster fan for the intake to help take some load of the ventilation fan. Once I have budget for enough gear for a second tent I plan to convert the full closet into a grow and use my current 3x3 elsewhere to have a seperate veg and bloom space
just make sure to have the right size filter system for the tent & u be good 👍
No actions just checking on recovery. Still trying to dial in the right nutrient dilution for the sip bucket so I can just simply fertilize from the bottom as it goes.
What is a sip bucket?
There is a resivour of water in the bottom of the bucket that is wicked up through the soil to the plants root system allowing you to bottom water the plant and do so less frequently. I'm using a product called grobucket you can get in a 3 pack on Amazon. They also sell a kit to make them have a fill resivour that can irrigate multiple buckets
That's a really neat idea!!! I do a similar idea with my Azalea. it's fickle when it isn't watered enough.
I've seen monster tomatoe and pepper plants using these and have seen people report great results. My first time growing anything so can't compare this method to others. Follow along and see how it goes 😸
Will do!!! I love the indoor veggie garden
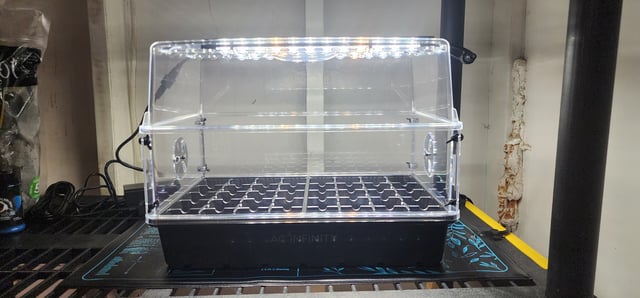
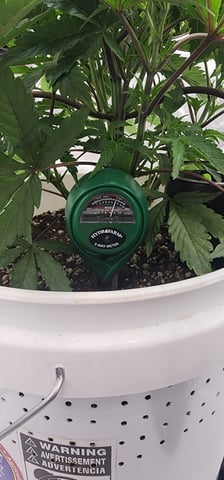
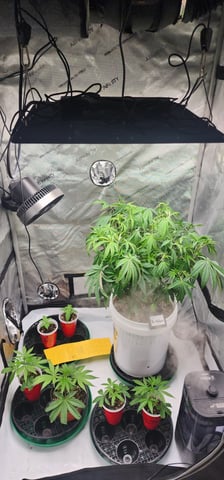
Father's day sale decided to take the opportunity to get some gear for clones when I trim the lady. Also picked up a soil meter to make sure I'm letting the soil dry fully before giving more water. Big shout out to Smokie_herbolario for taking some time to give me a rundown on best practices when cloning.
AC Infinity is such a great company. Always pushing the line for growers, big or small.
Agree, great products that have helped a first timer like me quite well. Hoping the propagation tools will help with my issues with seed germinating and give me some successful clones.
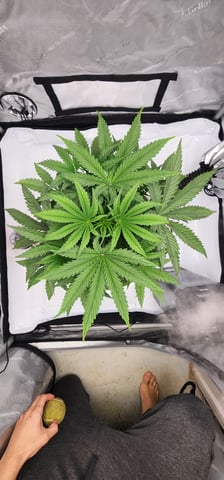
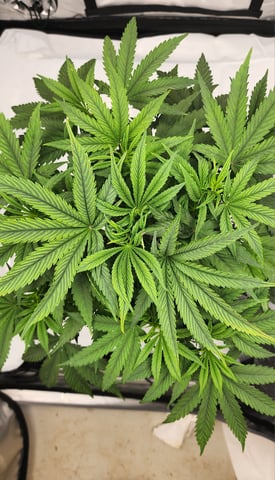
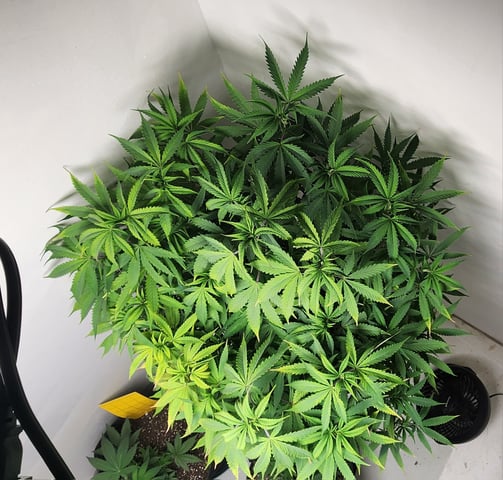
💪 that’s some good looking gear. and that mama plant looks really healthy. she definitely ready for a haircut. you might try these clips if you plan on training her to fill your tent. I take the opportunity to train anytime i defoliate/clone. https://a.co/d/9nZl6YW
Thanks Smokie! Check today's post and you can see how it went. Ended up snapping a branch I didn't want too took the cuttings I had and that to make clones and stopped there got a bit nervous to go further.
Went to defoliate and make some clones from the cuttings. I guess I wasn't paying my full attention and pulled one of the lower branches off. Well that scared me enough to stop with any more defoliation and now just watch to make sure her wounds heal.
I snap stems and split trunks all the time. as long as it doesn’t break completely off just tape it back together. I keep black electrical tape with my training clips and scissors just for this reason. what doesn’t kill the stem will make it stronger
It came off completely just used it for cuttings up where it was more plyable. We will see how they come out being my first cuttings. Gonna get my scrog net out soon to start training a filling the tent. Probably want to top the single cola as I'm doing that so it can grow wider along the screen?
I top to train and take clones secondary. I wait for the first two pairs of lateral branches to become well developed and then make my first top/clone the main stem. if your plant has normal growth that will give you 4 tops. train those away from eachother so they get good light, airflow and an even canopy. I will usually do a really heavy defoliation as well. in a couple weeks you can top again the same way except you will take 4 clones and end up with 8 tops.
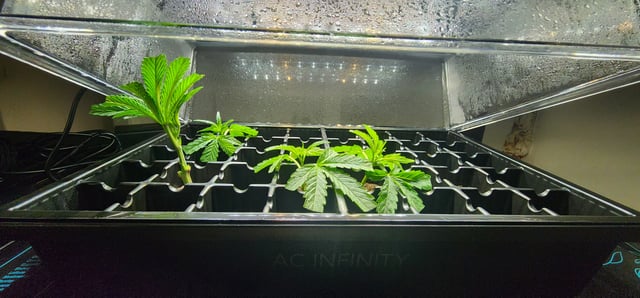
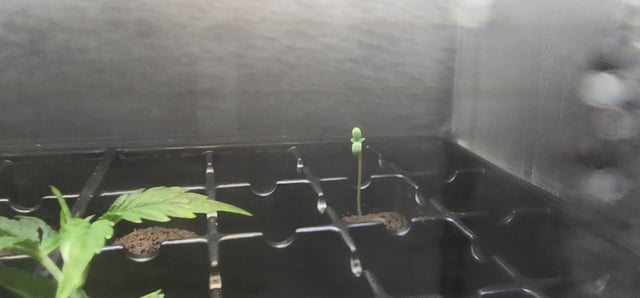
Bouncing back soil almost dried back ready to water and feed tomorrow. Clones looking good and one of my new seedlings has emerged
I would open one of your top vents. and the next day open the other vent, if you haven’t yet. I can’t remember if I told you. your clones and seedling can damp off with too much moisture. they like it for a couple days but can start to rot or get white fuzzies pretty fast. they are looking great though!
I've partially cracked one vent yesterday and will open fully before lights out. Super Excited!
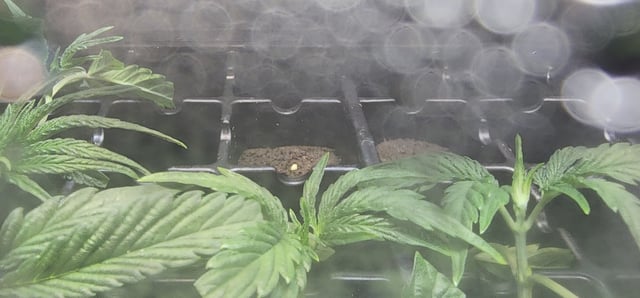
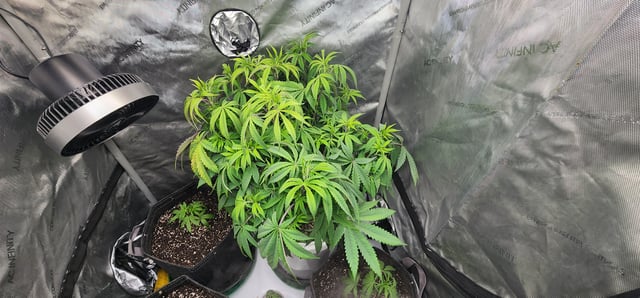
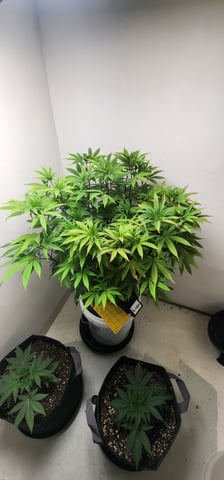
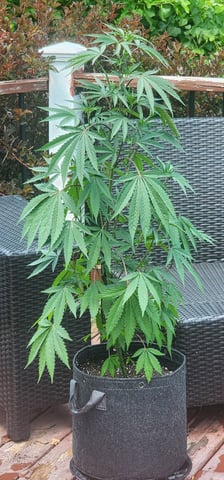
Lady was showing signs she was thirsty, fertilized the soil for the week will top off container with PhD water tomorrow. Pruned up old leaves and those blocking tops. Clones looking good, one seedling doing well with another on its way to emerge. Need a plan for the mother plant may try to take her outside to finish her life cycle out there.
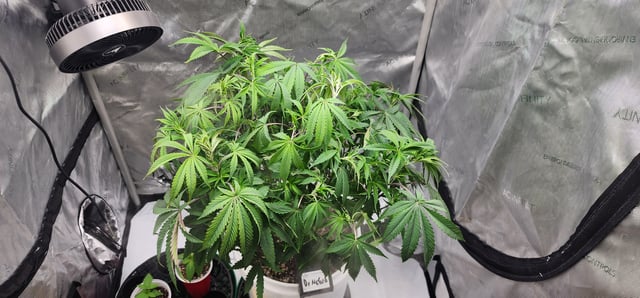
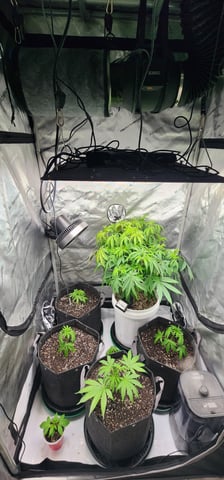
Mother plant and clones watered dealing with some nutrient issues with the mother. Was just recently flushed and fed so keeping an eye on her. Planning to get some gear frome prime day to allow for a 20/4 veg space and a 12/12 space for flower
I was thinking the same thing. not even a tent, just another light. they can quietly grow in the room thru most of veg with a good light and fans.
Yep I realized I was underutilizing the tent by putting it in an closet that's already set up to be a grow space. So now I'll have two grow spaces and can start flowering some of these ladies while having a space to veg the mothers and their clones
awesome 😎👍🏼

that's were i put mine in the closet you got humidity control and light control from all side but 1 good start. he'll I made my own trellis net lol. If you have it around and don't have to spend is the name off the game.
If you check my later post I ended up setting up the mother room and it's going great! Thanks for following along 🙌
same too you ,I never stop learning or try to even though I've had a few under my belt ,I can always appreciate good knowledge! n I'm sure we all can. lol
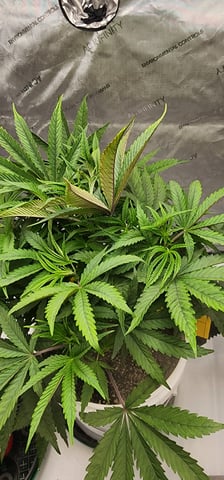
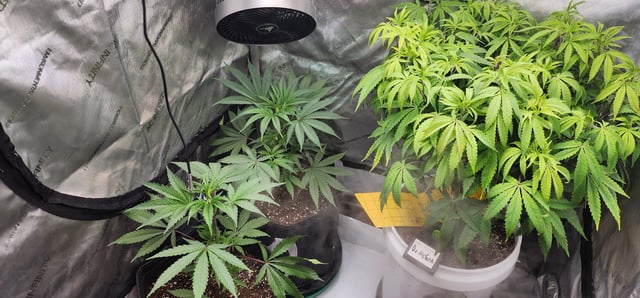
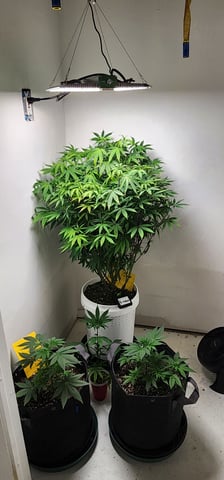
Color is coming back to the tops a few still showing lockout. Will continue to monitor and feed water only. The mothers seem to all be acclimating to the mother room well. Waiting on a new controller to monitor the room along with parts to make a dry/curing chamber using a thermoelectric wine cooler.
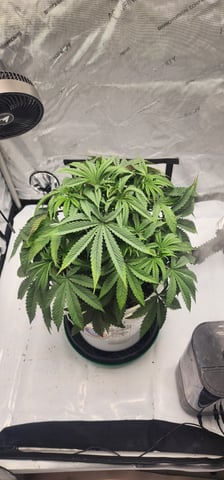
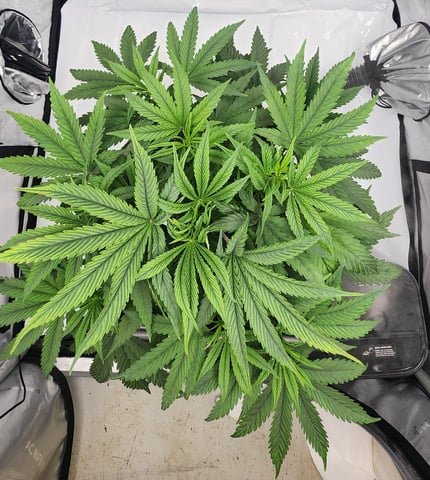
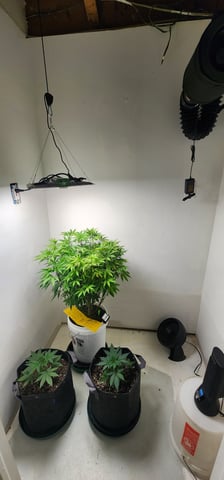
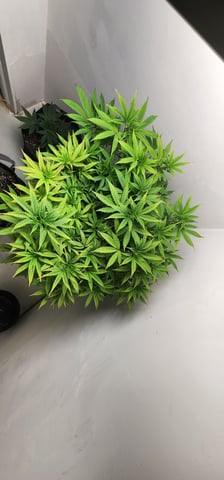
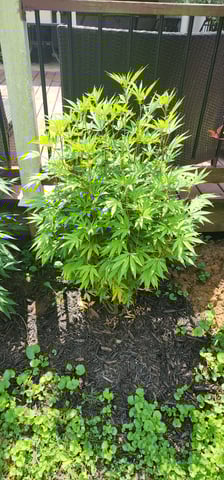
Lady nefario is a bush of a bush. She does well in the mom room, although it looks like she may be lacking some immobile nutrients. Feeding today from the bottom using the SIP.
The SIP method has been great once dialed in for my mother plant. Easy to water and feed only need to top water when watering in something. The mother at this point has filled most the pot with roots. The top soil is filled with tiny air roots from the plant and it's near impossible to use my finger to test soil moisture.
I love me some bush 🤤
She's root bound like no joke and I have no bigger container for her 😒. Time to grab a shovel and take her outside to pasture to flower in the fall. Got a cutting ready to be the new mom. At least that means the light can come down a bit and grow the other moms a bit faster
that’s the good thing about taking clones! I’ve heard people talk about just cloning from clones and never having a mother plant but I haven’t done it personally. they got to be doing a sea of green or vegging for 2 months. she should make a bad ass outdoor plant tho!
what's the hell is the sip method?
Stands for Sub irrigated planter. There is a storage for water underneath the plant that draws up into the soil as the plant uses it. Means longer periods before needing more water and when filling from the bottom the top soil stays dry keeping pest and fungus down.
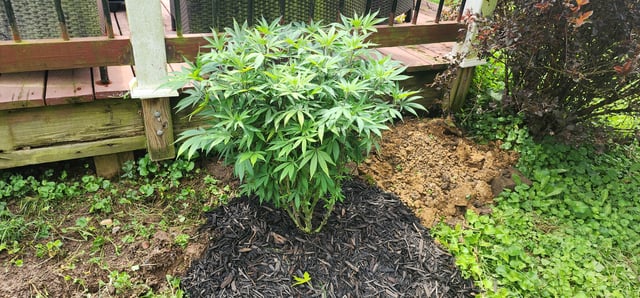
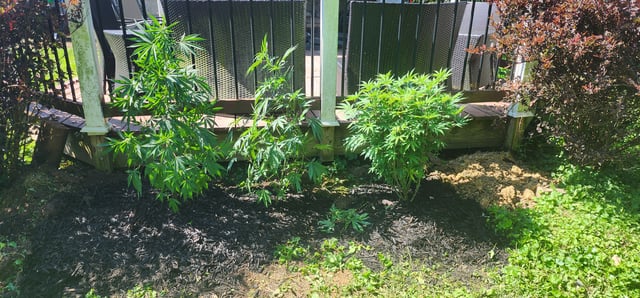
Dug a big old hole, filled with some basic top soil from the hardware store threw the mom in and mulched and watered in. Rain Strom overnight and on and off today but she seems to be enjoying it.
Didn't get a shot of the roots but I was actually surprised it wasn't spiraling around as bad as it seemed. This was most likely from the design of the sip I was using. Did a light scoring on the exterior roots to promote new growth before transplanting.
She's Beautiful!
She really is 😊
nice! she looks pretty happy out there!
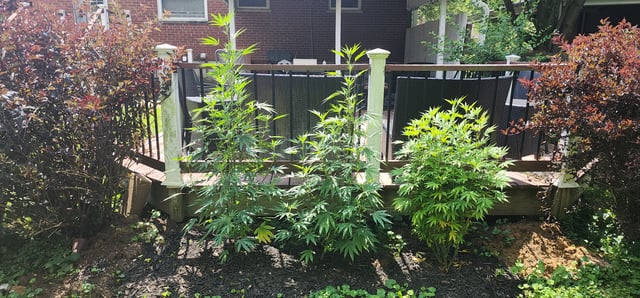
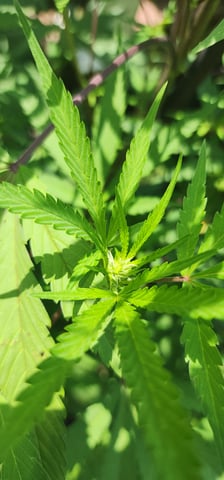
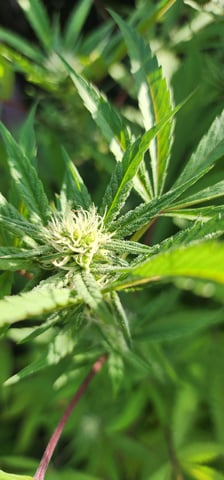
Just checked her this afternoon and she's stretching and starting to preflower 😁 was worried the transplant and root scoring was gonna stress her out for at least a few days.
Planted the clones next to their mother. First time transplanting out of a fabric pot and it was not as easy as plastic pots so was not as gentle on the roots as I would have liked to be. Watered in and will monitor.
are you recommending not to use the fabric pot?
I still think fabric pots have alot of advantages. They air prune the roots to allow for better roots and help slow down root bound, the fabric helps dry back the soil more evenly, and they work great for bottom watering which can help reduce gnats from developing in your soil. It was just difficult to release the plant from the pot when I went to transplant. Maybe I needed the soil to dry back more before trying to transplant and use a stick to lossen the side walls. I will still use them in the future along side other options.
I was just wondering I just ordered some five gallon fabric pots LOL I was also told that some of the smaller fabric parts if you go to transplant to a bigger you don't even have to take it out you can just transplant the whole thing fabric pot and all is that true do you know
I have seen bottomless fabric pots people use to transplant into bigger pots. I'd have to research if you can just transplant the whole bag. From what I see on YouTube almost all the growers are using fabric pots if they are using soil so their has to be a reason why it seems to be the favored pot material.
I have a question for you if you don't mind me asking, I have three plans I water them all the same time but one of the plants it seems like after 2 days it's like already dry I need to water it again but the other two are perfectly still fine would there be a certain reason why that's happening
Many factors could be taking place. The soil may be more airated or warmer and is evaporating quicker, the plant could be drinking more, the pot could be draining better. You could try adding a mulch layer to help retain some of the moisture in the pot and see if that helps.
right on, thank you so much. I will definitely try that
No problem!


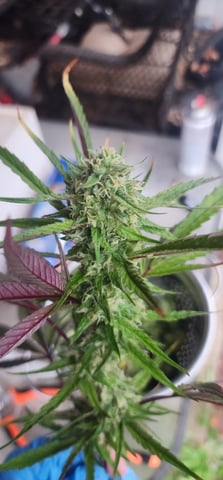
Flowers coming along nicely. Standing by with plant wire to tie up the ones that fall down.
looking good! I was looking for your grow but couldn’t find you cuz you changed your name lol
Yeah switched it up on here 🤣 glad you were able to find me again!
lol I knew you shouted me out before so I searched my name and found you 🤣
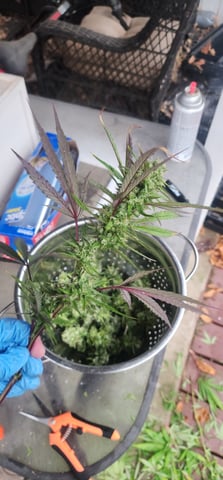
Well wasn't ready to prepare the ladies for a entire week of thunderstorms. After the first rain they were looking ready to fall over. Decided to chop early after seeing some mature trichome heads and freeze for bubble hash. A few colas had the beginning of bud rot so glad I went through with the chop.

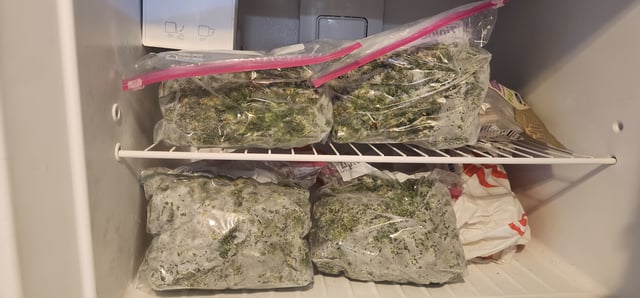
Ran the two small bags through three washes and got some decent quality. The 90 and 75um bags did provide dabbable hash. Need more ice and less water next run. These bags will be good practice before I wash my mature indoor harvest and trim
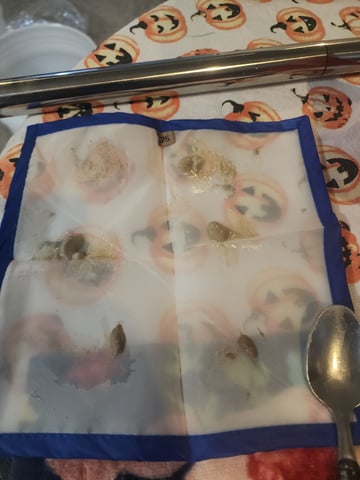
This is how I've done mine it has worked Everytime so far
Ive always done mine this way. Good Genetics will crack with 12 to 48 hrs. I wait till my tail is a good 1.5 inches long. Never use McDonald's napkins. Its bad. Real bad. 🤣