So you nailed the harvest timing – congrats! Now comes the part that separates great weed from stuff that smells like hay and burns your throat. I've watched grown adults nearly cry after ruining four months of work in two weeks of bad drying. Let's make sure that's not you.
Here's the truth nobody wants to admit: you can grow the frostiest, most perfect buds on earth, but if you screw up drying and curing, you'll end up with expensive compost. The good news? Once you understand what's actually happening during this process, it's pretty hard to mess up.
Why This Process Makes or Breaks Your Bud
During drying and curing, some serious chemistry is happening:
Chlorophyll breaks down - This is why proper dried bud doesn't taste like lawn clippings. Rush this process and you get that notorious hay smell that won't go away.
Terpenes develop and preserve - Dry too fast and they evaporate. Too slow and they degrade. Get it right and your bud smells like heaven.
Remaining sugars and starches convert - This is what makes smoke smooth instead of harsh. It's also why properly cured bud has that complex flavor profile.
Moisture equalizes throughout the bud - The outside might feel dry while the inside is still wet. Curing fixes this.
Think of it like aging wine or cheese. You're not just removing water – you're creating the final product.
The Environment is Everything
Before you cut a single branch, get your drying space dialed in. This isn't negotiable.
The Magic Numbers:
Temperature: 60-65°F (some say 60/60, but 65°F gives you more wiggle room)
Humidity: 55-62% RH
Airflow: Gentle indirect breeze (not blowing directly on buds)
Light: Complete darkness (light degrades THC)
Setting Up Your Dry Room:
Essential equipment:
Hygrometer - Get two, they're cheap and sometimes lie
Small fan - Pointed at a wall, not the plants
Dehumidifier/humidifier - Depending on your climate
Tent or closet - Anywhere you can control conditions
Pro setup tip: I hang my hygrometer at bud level, not on the floor or ceiling. Heat rises, humidity sinks – you want to know what your buds are experiencing.
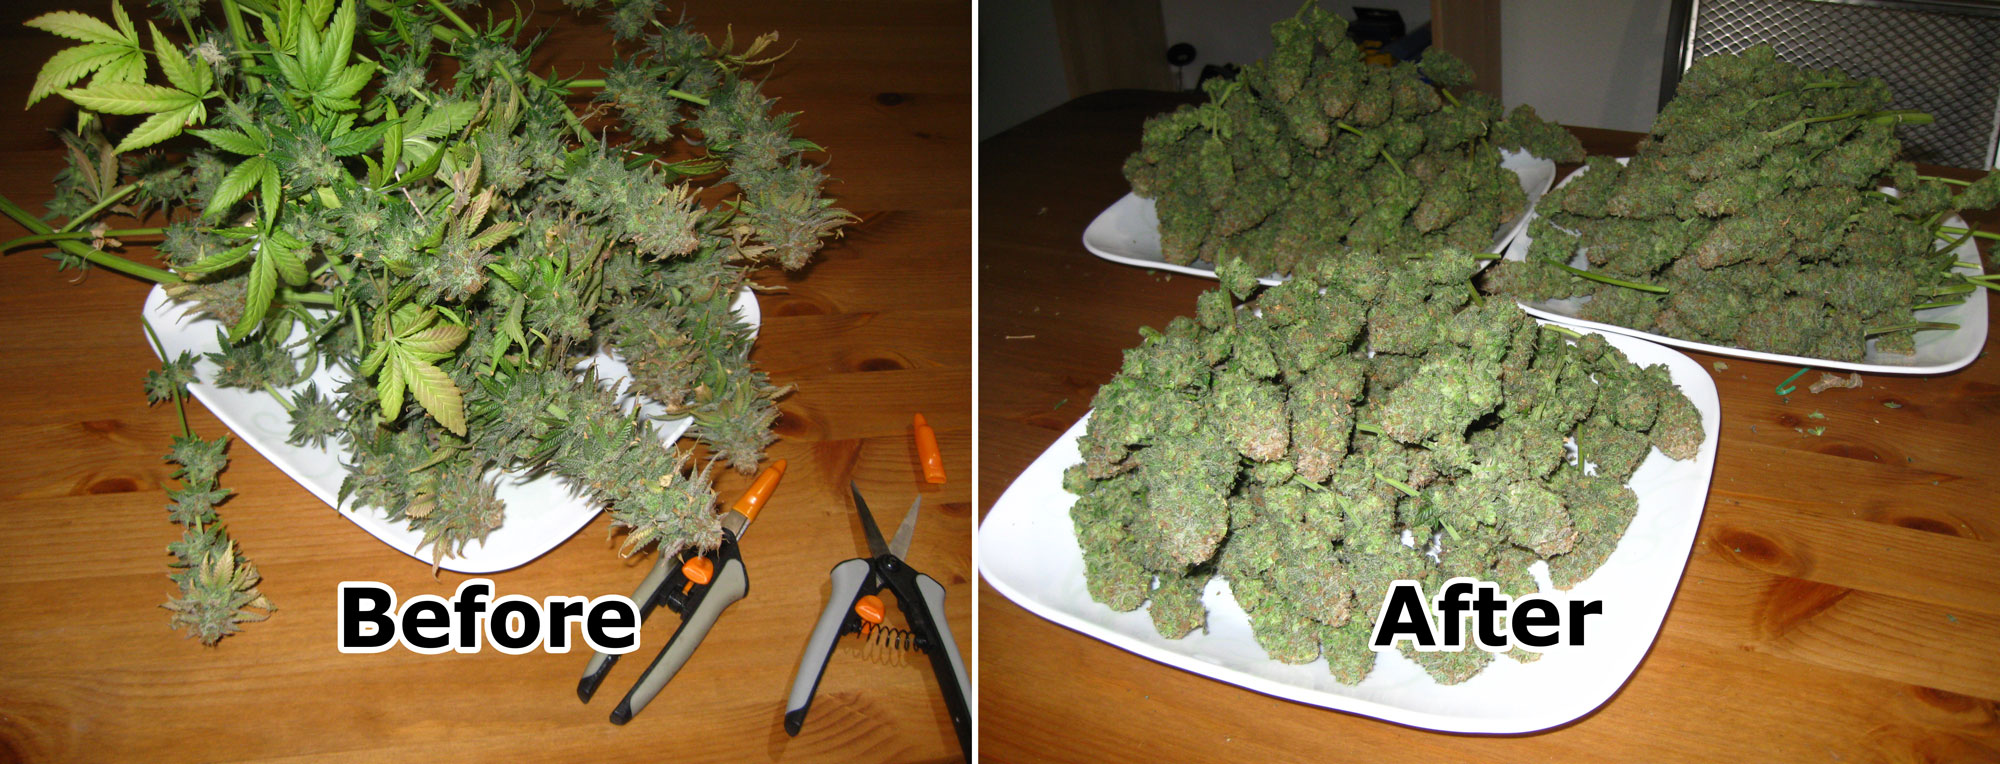
The Great Trim Debate: Wet vs Dry
Let's settle this once and for all – both methods work, but your environment dictates which is better for you.
Trimmed immediately after harvest
Wet Trimming (Trim immediately after harvest)
Best for:
High humidity climates (above 60% RH)
Dense indica buds prone to mold
Limited drying space
If you enjoy trimming fresh sticky plants (weirdo)
Pros:
Easier to cut (leaves are rigid)
Faster overall process
Less chance of mold in humid conditions
Prettier final buds
Cons:
Can dry too fast if not careful
More chlorophyll smell initially
Messy as hell (wear clothes you don't like)
Lose some terpenes to evaporation
Dry Trimming (Trim after drying)
Water leaves are gone but most small leaves are still intactBest for:
Dry climates (below 45% RH)
When you want maximum terpene preservation
If you have good environmental control
When you're not in a rush
Pros:
Slower dry = better cure potential
Leaves protect trichomes during drying
Superior flavor and smell (my opinion)
Can batch process trimming
Cons:
Harder to trim (crispy leaves stick to buds)
Takes up more drying space
Higher mold risk if humidity spikes
Takes forever if you have a big harvest
My method: I'm in a dry climate, so I leave fan leaves on but remove any leaves with visible stems. Best of both worlds – protection without the mold risk.
The Drying Process - Day by Day
Day 1-3: The Danger Zone
This is when mold risk is highest. Your buds are still wet inside, and if branches are touching or air isn't moving, you're asking for trouble.
What to do:
Hang branches with space between them (they shrink, so they can be closer than you think)
Check twice daily for any branches touching
Run that fan 24/7 but NEVER directly on plants
Keep temps steady – fluctuations are bad news
What you'll notice:
Outer leaves getting crispy
Branches still completely flexible
Strong plant smell (not the good kind yet)
Day 4-7: The Transition
This is where the magic starts. Chlorophyll is breaking down, and you might catch whiffs of the actual bud smell.
What to do:
Resist the urge to sample (it'll be harsh and weak)
Check stems daily – still bendy but getting stiffer
If any buds feel too dry outside, your room is too dry
Start checking smaller branches for the "snap test"
What you'll notice:
Smell transitioning from hay to cannabis
Buds feeling drier outside but still squishy
Sugar leaves curling around buds
30-40% weight loss from fresh
Day 7-14: The Sweet Spot
Most plants are ready somewhere in this window. This is where experience matters.
The famous snap test:
Small stems snap cleanly = ready
Big stems snap = possibly too dry
Stems bend without breaking = needs more time
Outside of bud feels dry but springs back when squeezed = perfect
Regional differences I've noticed:
Desert climates: Often ready in 5-7 days (watch carefully!)
Humid coastal: Can take 14-20 days
Standard indoor climate: 10-12 days average
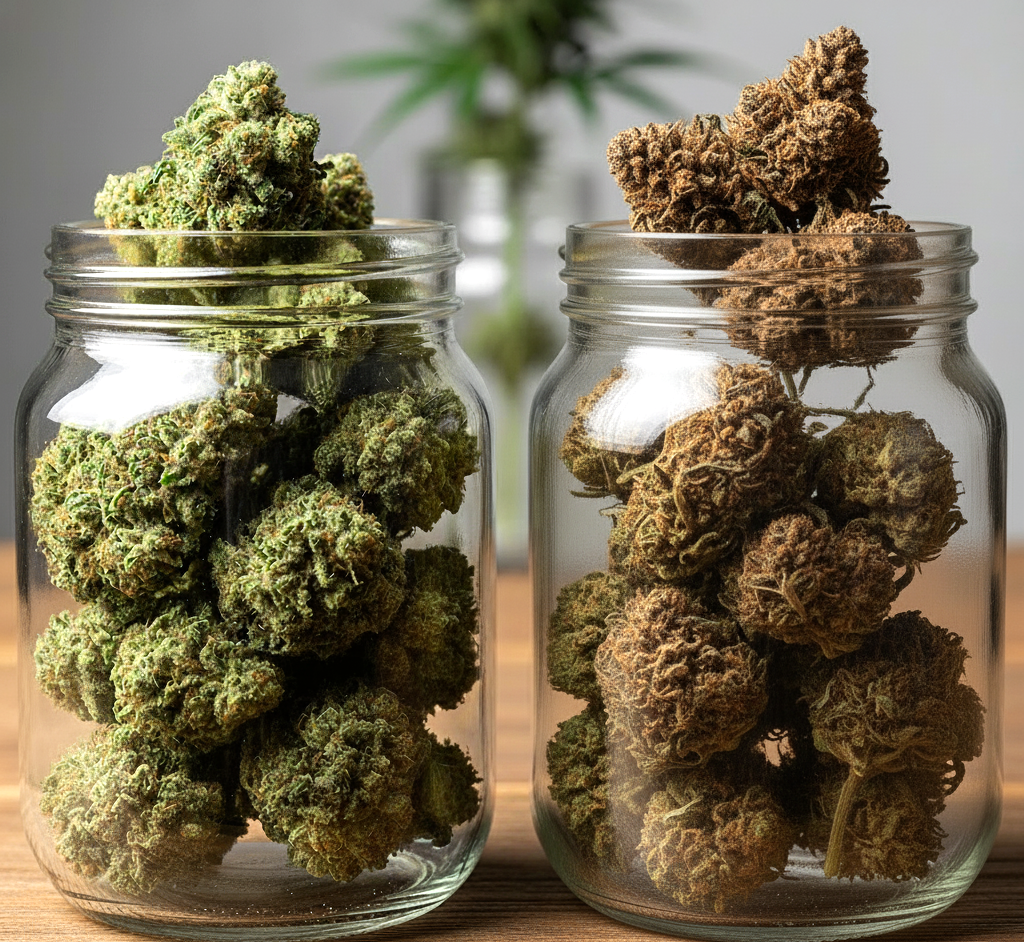
When to Jar - The Most Critical Decision
This is where people mess up most. Jar too early and you get mold. Too late and your cure is compromised.
The Multi-Point Check:
Stems: Smaller ones snap, bigger ones crack but might not break clean
Bud exterior: Dry to touch but not crispy
Bud squeeze: Springs back slowly, doesn't stay compressed
Weight: Lost 70-75% of wet weight
Smell: Cannabis smell, not hay or grass
If you hit 4 out of 5, you're probably ready. When in doubt, wait one more day – you can always rehydrate slightly, but you can't fix mold.
The Curing Process - Where Good Becomes Great
Curing is basically controlled moisture redistribution. The inside of your buds is still wetter than the outside, and curing evens this out while continuing the chlorophyll breakdown.
Week 1: The Active Phase
Daily burping schedule:
Days 1-3: Open jars 2-3 times for 10-15 minutes
Days 4-7: Open jars once for 10 minutes
Check for ammonia smell (means too wet, needs immediate action)
Gently shake jars to prevent buds sticking together
Moisture levels:
Ideal: 58-62% RH in the jar
Above 65%: Risk of mold, leave jars open longer
Below 55%: Add a Boveda pack or orange peel for 4 hours (watch carefully)
Get some hygrometers for your jars - Those little ones are like $5 each. Don't guess with hundreds of dollars of product.
Week 2-4: The Settling Phase
Burping schedule:
Open every 2-3 days for 5 minutes
Just exchanging air at this point
Smell should be getting complex and loud
What's happening:
Moisture fully equalizing
Chlorophyll almost gone
Terpenes developing complexity
Smoothness increasing daily
Week 4-8: The Patience Phase
Minimal burping:
Once a week is plenty
Some people stop entirely after week 4
I keep going because I like checking on them
The improvements:
Smell gets more nuanced
Smoke gets progressively smoother
Effects become more pronounced
Properly cured bud just hits different
After 2 months:
Most strains peak around 6-8 weeks of curing. Some, especially hazes and long-flowering sativas, keep improving for 6 months. But honestly, after 2 months, the improvement is subtle.
Common Problems and Fixes
"My buds smell like hay"
Cause: Dried too fast, chlorophyll didn't break down
Fix: Can improve with extended cure (2-3 months), but won't be perfect
Prevention: Slower dry next time, keep humidity up
"Found mold in a jar"
Immediate action: Remove affected buds AND surrounding ones
Check everything: Mold spreads before visible
Fix remaining: Re-dry suspicious buds for 12-24 hours
Prevention: Better stem snap test, use hygrometers
"Buds are too dry and crispy"
Quick fix: Boveda 62% pack for a week
Natural method: Fresh fan leaf in jar for 4-6 hours (watch closely!)
Why it happens: Over-dried or stored in low humidity
Note: Can rehydrate but won't cure properly if over-dried initially
"One jar smells amazing, another doesn't"
Cause: Uneven drying, different density buds
Fix: Mix and redistribute between jars
Lesson: Dry similar-sized buds together
"How do I know if it's mold or trichomes?"
Mold: Webby, grows in spots, spreads from inside out
Trichomes: Crystalline, evenly distributed, been there since harvest
Test: Pull a suspicious spot – mold comes off in clumps, trichomes don't
Long-Term Storage
Once properly cured, you want to maintain that quality.
Best practices:
Mason jars in a cool, dark place (under 70°F)
Boveda packs for humidity control (58% or 62%)
Vacuum sealing for 6+ month storage
Never freezers unless you're making hash (trichomes get brittle)
Check monthly even in long storage
Storage timeline:
0-6 months: Peak quality if stored properly
6-12 months: Slight degradation but still excellent
1-2 years: Noticeable THC degradation to CBN (sleepier effects)
2+ years: Significantly degraded but still useable
My Biggest Drying/Curing Mistakes
First grow: Dried in my garage in summer. 85°F and 30% humidity. Three days later, hay-smelling disappointment.
Second grow: Paranoid about mold, dried too long. Buds turned to dust when ground. Boveda packs helped but cure was ruined.
The jar incident: Didn't burp for three days during week one. Opened to find white fuzz on everything. Lost two ounces.
Freezer experiment: Read online that freezing preserves terpenes. Trichomes fell off like dust. Made good hash though.
The "it feels dry enough" disaster: No hygrometer, guessed wrong. Anaerobic bacteria party in my jars. Ammonia smell that never left.
Quick Reference Checklist
[INFOGRAPHIC: Timeline showing the full process from harvest to cured bud - Day 1 through Week 8, with key milestones marked]
Pre-Dry Setup:
[ ] Temperature 60-65°F
[ ] Humidity 55-62%
[ ] Indirect airflow established
[ ] Complete darkness
[ ] Hygrometers placed at bud level
Daily During Drying:
[ ] Check temperature/humidity twice
[ ] Ensure no branches touching
[ ] Snap test small stems after day 5
[ ] Watch for any mold signs
[ ] Note smell changes
Jarring Checklist:
[ ] Small stems snap clean
[ ] Buds dry outside, slightly spongy inside
[ ] No hay smell remaining
[ ] Jars filled 3/4 full maximum
[ ] Hygrometer in each jar type
Curing Schedule:
[ ] Week 1: Burp 2-3 times daily, 10-15 minutes
[ ] Week 2: Burp daily, 10 minutes
[ ] Week 3-4: Burp every 2-3 days, 5 minutes
[ ] Week 4+: Burp weekly or stop
[ ] Check for ammonia smell every opening
Final Thoughts
Drying and curing is where good growers become great growers. It's not sexy like showing off huge colas, but this is where you create the product people remember. That jar you properly cured for 8 weeks? That's the one your friends ask about months later.
The process seems complicated at first, but after one or two runs, it becomes second nature. The key is controlling your environment and being patient. When you think it's ready, wait one more day. When you want to smoke it after a week of curing, wait three more.
Remember: you can't fix a bad cure, but you can always cure longer. Start conservative, take notes, and adjust next time. Every environment is different, and what works in Colorado might not work in Florida.
Help Improve This Guide
Got a drying or curing trick that changed your game? Learned something the hard way? Disagree with my methods? Drop it in the comments.
I'm especially interested in:
Regional humidity hacks
Saves for over-dried bud that actually work
Your optimal temp/humidity if it's different from 60/60
How you deal with massive harvests
Any "weird" methods that actually improve the cure
Photos of mold vs trichomes for the visual learners
This guide gets updated based on what the community shares. Your basement setup trick might solve someone's entire problem. Let's help each other grow better medicine.
What's your biggest drying/curing victory or disaster? Share below – we've all been there.
Have a question about this topic?
Ask our AI growing assistant — free, no signup required.