Stages of Bud Growth Pictures Outdoor: What You're Actually Looking At
If you've got outdoor plants in the ground right now and you're trying to match what you see against the stages of bud growth pictures outdoor growers talk about, this guide is built for that. No vague descriptions — just what the plant looks like, what's happening biologically, what numbers to watch, and what to do if something looks wrong. Of the 168 outdoor grows tracked on Grow Guide, the most common point of confusion is the transition between pre-flower and early flower, so we'll spend extra time there.
Stage 1: Germination (Days 1–10)
What it looks like: A cracked seed with a white taproot emerging, 2–5mm long. Once planted, you'll see two smooth, oval cotyledon leaves pushing through the soil surface.
What's happening: The seed absorbs water (imbibition), activating enzymes that trigger the radicle to break through the seed coat. Soak seeds in water for 6–12 hours until they sink — that's your cue they've taken on enough moisture. Move them to a moist paper towel or directly into a peat pellet.
- Temperature: 70–80°F (21–27°C) is ideal. Below 65°F slows germination significantly outdoors.
- Humidity: 80–90% around the seed site
- Nutrients: None. The seed contains enough energy. Fertilizer at this stage causes root burn.
- Troubleshooting: Seeds not cracking after 5 days? Lightly scarify the ridge with fine sandpaper to break the outer hull, then re-soak.
Stage 2: Seedling (Weeks 1–3)
What it looks like: Cotyledons give way to the first set of true leaves — single-bladed initially, then 3-bladed, then 5-bladed as the node count climbs. Plants are 5–15cm tall with a bright green, almost translucent look.
Outdoors, your seedlings need a minimum of 6 hours of direct sunlight. Overcast northern climates can stall growth here; consider starting seeds indoors under a T5 or low-wattage LED and transplanting out after the last frost.
- Temperature: 68–77°F (20–25°C)
- Humidity: 60–70%
- Nutrients: Introduce a mild, balanced fertilizer (NPK around 2-1-2) once the first true leaves are fully open. See our Best Nutrients for Cannabis Seedlings guide for specific product recommendations.
- Troubleshooting: Yellowing lower cotyledons are normal as the plant matures. Yellowing true leaves signal overwatering — lift the pot, water only when the top 2cm of soil is dry.
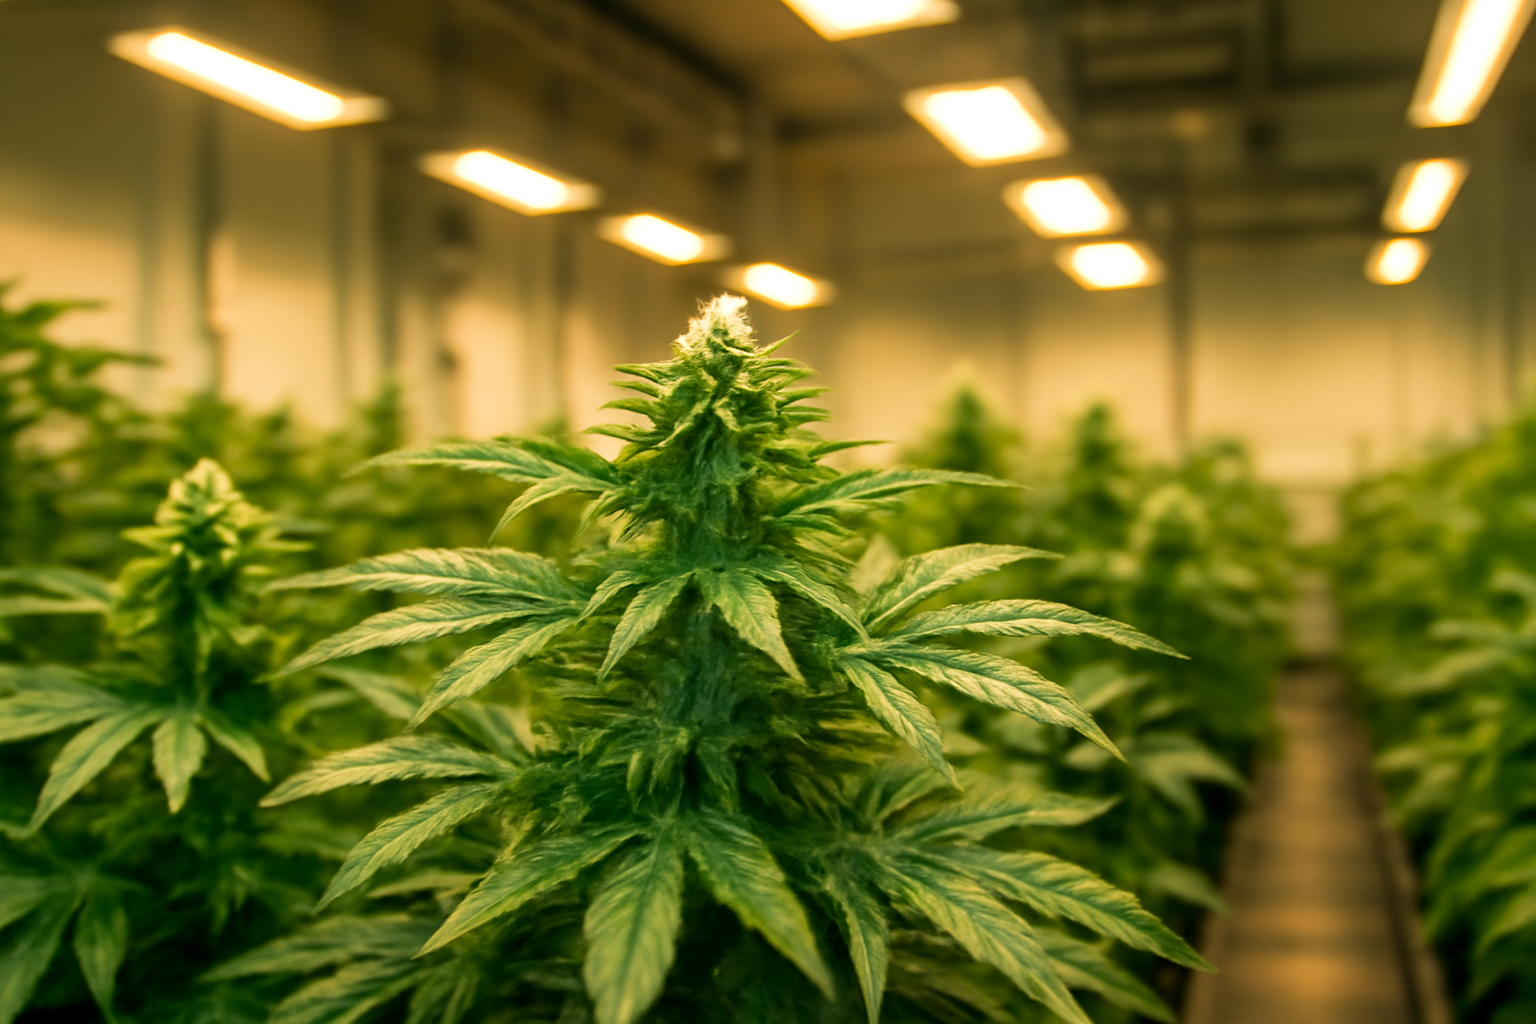
Stage 3: Vegetative Growth (Weeks 3–16)
What it looks like outdoors: Rapid upward and lateral expansion. Node spacing tightens. Fan leaves are large and dark green. By week 6, a well-fed photoperiod plant in full sun can be adding 2–5cm of height per day in peak conditions.
This is the stage where training decisions pay the biggest dividends. Topping or fimming in weeks 4–6 creates multiple main colas for outdoor plants rather than a single Christmas-tree structure that's harder to support come harvest. Low-stress training (LST) with soft ties and bamboo stakes costs nothing and opens the canopy to light.
- Temperature: 70–85°F (21–29°C)
- Humidity: 40–70%
- Nutrients: High nitrogen — EC 1.2–2.0 for soil grows. Organic sources like blood meal or fish emulsion work well outdoors. Check our Best Organic Nutes for Cannabis rundown.
- Troubleshooting: Pale lime-green new growth = nitrogen deficiency. Dark, clawing leaves = nitrogen toxicity (back off feeding). Use the Nutrient Deficiency Identifier if you're unsure what you're looking at.
Plan your full feeding schedule in advance using the Grow Schedule Planner — it maps nutrient phases to your specific outdoor start date and expected finish.
Stage 4: Pre-Flowering (Weeks 1–2 of Flower Trigger)
What it looks like: This is the stage most growers miss in bud growth pictures. Outdoors, as day length drops below roughly 14 hours (typically late July to mid-August in the Northern Hemisphere), the plant shifts. At node junctions you'll see the first pre-flowers: females show white, hair-like pistils; males show small round pollen sacs on a stalk.
Pull out a jeweler's loupe (30–60x) and check every plant. One undetected male will pollinate your entire outdoor plot and turn sensimilla buds into seeded ones.
- Nutrients: Start transitioning to bloom fertilizers. Reduce nitrogen, increase phosphorus and potassium. A P-K booster at EC 1.4–1.8 is a common starting point.
- Light pollution: A streetlight or security light hitting your plants at night can delay or interrupt the flowering trigger. Black-out cloth from 8 PM onwards solves it.
Stage 5: Flowering — The Stages of Bud Growth Pictures Outdoor Growers Search For
Flowering is the long one: 6–12 weeks depending on strain. Break it into three visual phases.
Early Flower (Weeks 1–3)
Pistil clusters appear at every node. The plant is still stretching — some sativas can double in height during this phase. Trichomes are clear and sparse under a loupe. Keep nitrogen at roughly 30% of your veg level; too much N now creates leafy, airy buds. Support your tallest branches with bamboo and soft ties before the weight comes on.
Mid Flower (Weeks 4–7)
Calyxes are stacking and buds are gaining mass daily. This is when outdoor bud growth becomes visually dramatic — the difference between week 4 and week 6 is stark. Trichomes are transitioning from clear to cloudy. Smell intensifies hard here; outdoor growers in non-commercial settings should factor in odour management. Peak feeding window: EC 1.6–2.2 in soil, adjusted down to 1.2–1.6 in coco. Humidity needs to drop below 50% to avoid botrytis (bud rot), which is your biggest outdoor risk this late in season.
Late Flower (Weeks 8–12)
Pistils turn orange and red, beginning from the bottom of the bud upward. When 70–90% of pistils have darkened and trichomes are mostly milky with 10–30% amber, you're in the harvest window. Fan leaves yellowing and dying off is completely normal — the plant is cannibalising stored nitrogen. Stop all feeding 10–14 days before harvest and flush with pH-adjusted water (6.0–6.8 for soil).
Use the Yield Calculator to estimate your final take based on plant count, training method, and strain type.
Stage 6: Harvest — Reading Trichomes Accurately
What it looks like: Under a 60–100x jeweler's loupe or digital microscope, trichome heads are either clear (too early), milky/cloudy (peak THC), or amber (degrading THC, rising CBN, heavier effect). The ratio you're targeting depends on your preference:
- All cloudy, 0% amber: Cerebral, energetic effect. Peak cannabinoid content.
- 80% cloudy / 20% amber: Most growers' sweet spot — balanced, full effect.
- 50%+ amber: Sedative, couch-lock profile. Some medical growers target this deliberately.
Harvest in the morning after the dew has dried but before midday heat. Terpene concentrations peak overnight and drop as temperatures climb. Sharp, clean secateurs only — contaminated cuts introduce bacteria to the harvest environment.
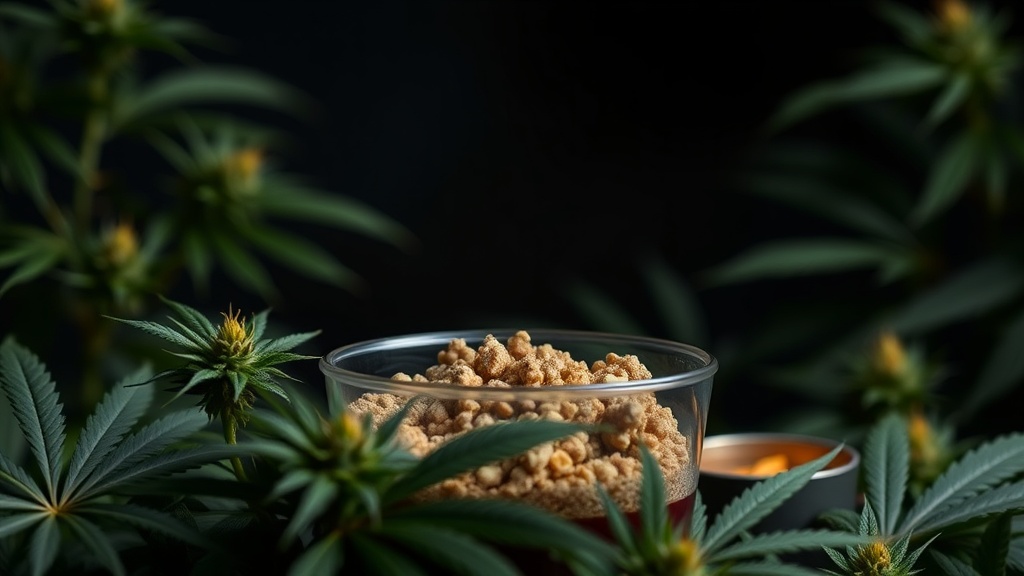
Stage 7: Drying and Curing Outdoor Buds
Drying too fast is the single most common post-harvest mistake. Rush it and you lock chlorophyll into the bud, causing that harsh, green smoke. Aim for 7–14 days hanging whole branches in a dark room at 60–70°F (15–21°C) with 45–55% humidity and gentle airflow. Buds are ready for jars when the small stems snap rather than bend.
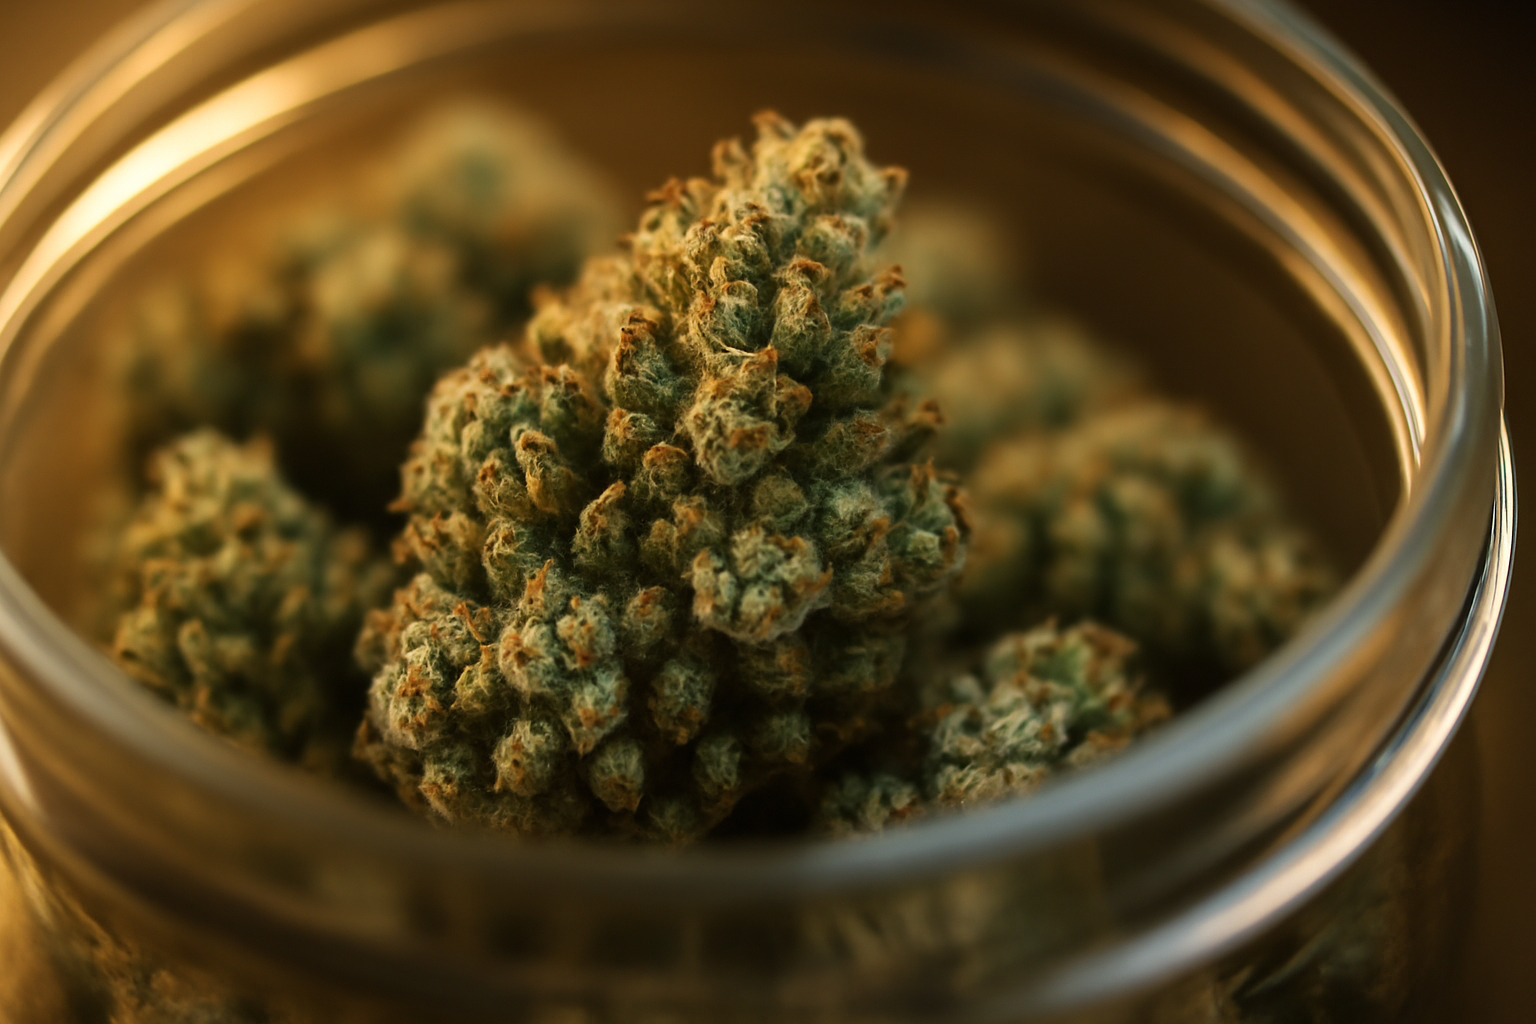
Curing in airtight glass jars for a minimum of 2–4 weeks (burping twice daily for the first week) is what separates good cannabis from great cannabis. The enzymatic breakdown that happens during cure develops terpene complexity and smoothness. Our Dry & Cure Timer takes the guesswork out of scheduling your burps and cure window.
Tracking Your Outdoor Grow Stages
Of the 168 outdoor grows tracked on Grow Guide, the majority are grown in soil — which aligns with the forgiving pH range (6.0–7.0) and buffer capacity that suits seasonal outdoor cultivation. Keeping a photo journal through each stage isn't just satisfying — it creates a reference library that makes your second grow significantly easier. Our Cannabis Grow Diary guide walks through exactly what to log and when.
Want to calculate what your outdoor plants could produce? Drop your numbers into the Yield Calculator — it accounts for plant count, training technique, and average daily light hours.
Frequently Asked Questions
How do I know when outdoor buds have finished flowering?
Check trichomes with a 60–100x loupe: when the majority are milky/cloudy and 10–30% have turned amber, you're in the prime harvest window. Cross-check with pistil colour — 70–90% orange or red pistils is a reliable secondary indicator. Don't rely on pistil colour alone.
What does early bud growth look like outdoors?
In weeks 1–3 of flower, you'll see small white pistil clusters (hairs) forming at node junctions where branches meet the main stem. They look like tiny, fuzzy white wisps before calyxes start stacking. The plant is still stretching taller during this phase and trichomes are clear and barely visible.
How long does the outdoor flowering stage last?
Between 6 and 12 weeks depending on strain genetics. Most indica-dominant varieties finish in 7–9 weeks of flower; sativa-dominant strains often run 10–12 weeks and can push into late October in Northern Hemisphere climates. Autoflowers bypass the photoperiod trigger and finish faster — typically 70–90 days from seed.
Can outdoor buds get bud rot and how do I spot it early?
Yes — botrytis (bud rot) is the most common late-season outdoor problem, especially when humidity exceeds 55% during week 6 of flower onwards. Early signs are grey or brown discolouration inside a dense cola, often starting where a leaf stem meets the bud. Pull affected buds immediately and improve airflow around remaining plants. Keep humidity below 50% from mid-flower through harvest.
Why are the fan leaves turning yellow late in the flowering stage?
This is normal and expected from week 7–8 of flower onwards. The plant remobilises nitrogen stored in fan leaves to fuel final bud development. Unless the yellowing is rapid, starting from the top, or accompanied by spots, it's not a deficiency — it's senescence. If you're unsure, run the symptoms through the Nutrient Deficiency Identifier to rule out a real issue.