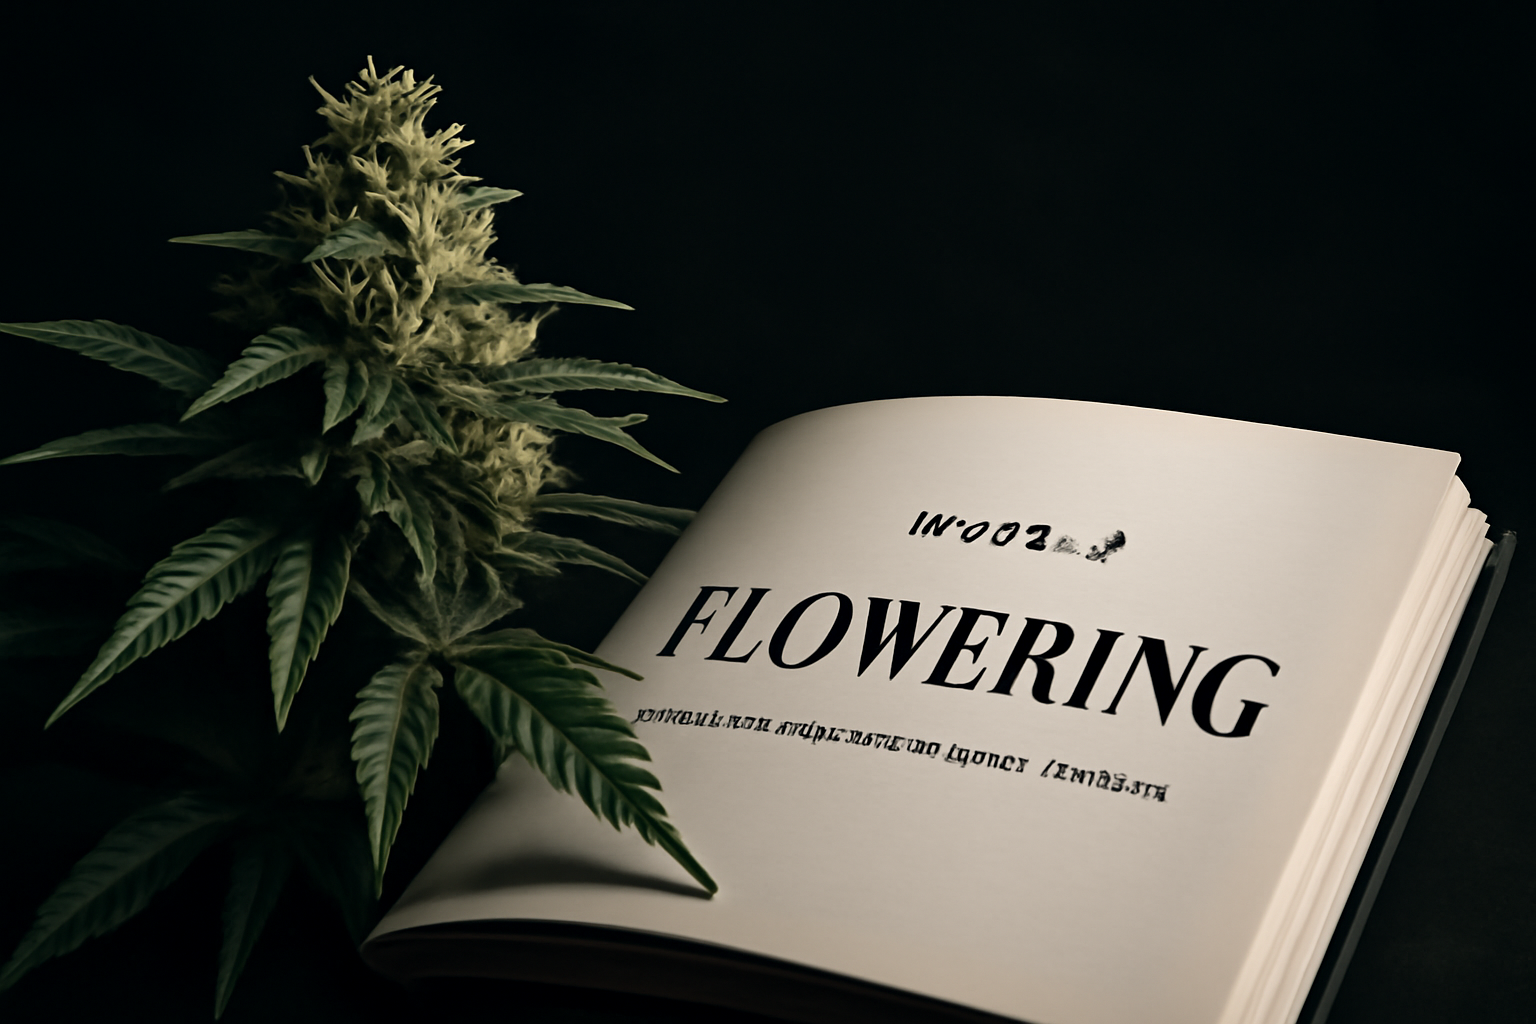
By Week Stages of Bud Growth: A Visual Field Guide
If you've got plants that just flipped to 12/12 — or you're watching outdoor plants start to show pistils as days shorten — this is the reference you'll come back to every grow. The by week stages of bud growth pictures in your head need to match what's actually happening on the plant. This guide gives you the visual cues, the numbers, and the interventions for every week of flower, from first signs of sex to the final amber trichome check before the chop. Based on data from over 1,000 grow journals tracked on Grow Guide, 73.7% of growers run indoor environments — so indoor timings are the default here, with outdoor notes where relevant.
Week 1–2: The Flip, the Stretch, First Pistils
The clock starts the moment you cut the photoperiod to 12/12 (or when your outdoor plants sense days dropping below ~14 hours). For the first 7–14 days, your plant doesn't look like it's flowering at all. It's still growing vegetatively and will stretch aggressively — expect 50–100% height increase, sometimes more with sativa-dominant genetics. Don't panic.
What to look for: By day 10–14, you'll see the first white pistils emerging from the nodes — two thin white hairs curling out from a tiny calyx. These are the bud sites forming. Nothing has swelled yet. That's normal.
- Light: Drop to 12/12. Run 600–800 µmol/m²/s PPFD at canopy. Use the Grow Light Calculator to dial in DLI — you want 35–45 mol/m²/day in early flower.
- Temperature: 72–77°F (22–25°C) lights-on, 65–70°F (18–21°C) lights-off.
- Humidity (RH): 55–65% VPD — target 0.8–1.0 kPa.
- Nutrients: Begin transitioning from veg to bloom. Reduce nitrogen, introduce phosphorus and potassium. EC 1.4–1.8 mS/cm in coco/hydro; pH 6.0–6.5 in soil, 5.8–6.2 in coco.
- Training: Last chance for LST tie-downs to spread bud sites. Stop topping — if you're still debating training methods, check our fimming vs topping guide.
Week 3–4: Budlet Formation — The By Week Stages of Bud Growth Pictures Start Looking Real
This is where it gets satisfying. The white pistils from weeks 1–2 are now surrounded by stacking calyxes. Each bud site is building a cluster of calyxes — these will become your colas. You might count 20, 40, or 80+ bud sites on a well-trained plant. They're small, tightly packed, and predominantly white-pistilled.
What to look for: Calyxes stacking in groups at each node. The main cola is forming at the apex. Side branches are developing their own bud sites. Resin glands (trichomes) are just beginning to appear — you'll need a loupe or jeweler's magnifier to see them. They'll look like tiny clear stalks on the sugar leaves.
- Nutrients: Full bloom feed. Phosphorus and potassium are your priority now. EC 1.6–2.0 mS/cm. Calcium and magnesium remain important — deficiencies show here first. Use the Nutrient Deficiency Identifier if leaves are showing spots or yellowing.
- Humidity: Pull RH down to 45–55%. Mold doesn't need dense buds to start — it can colonize the interior of a forming cluster early.
- Airflow: Add an oscillating fan directly on the canopy. Every bud site should be moving slightly.
- Smell: Terpene production kicks in. A carbon filter is non-negotiable from here on.
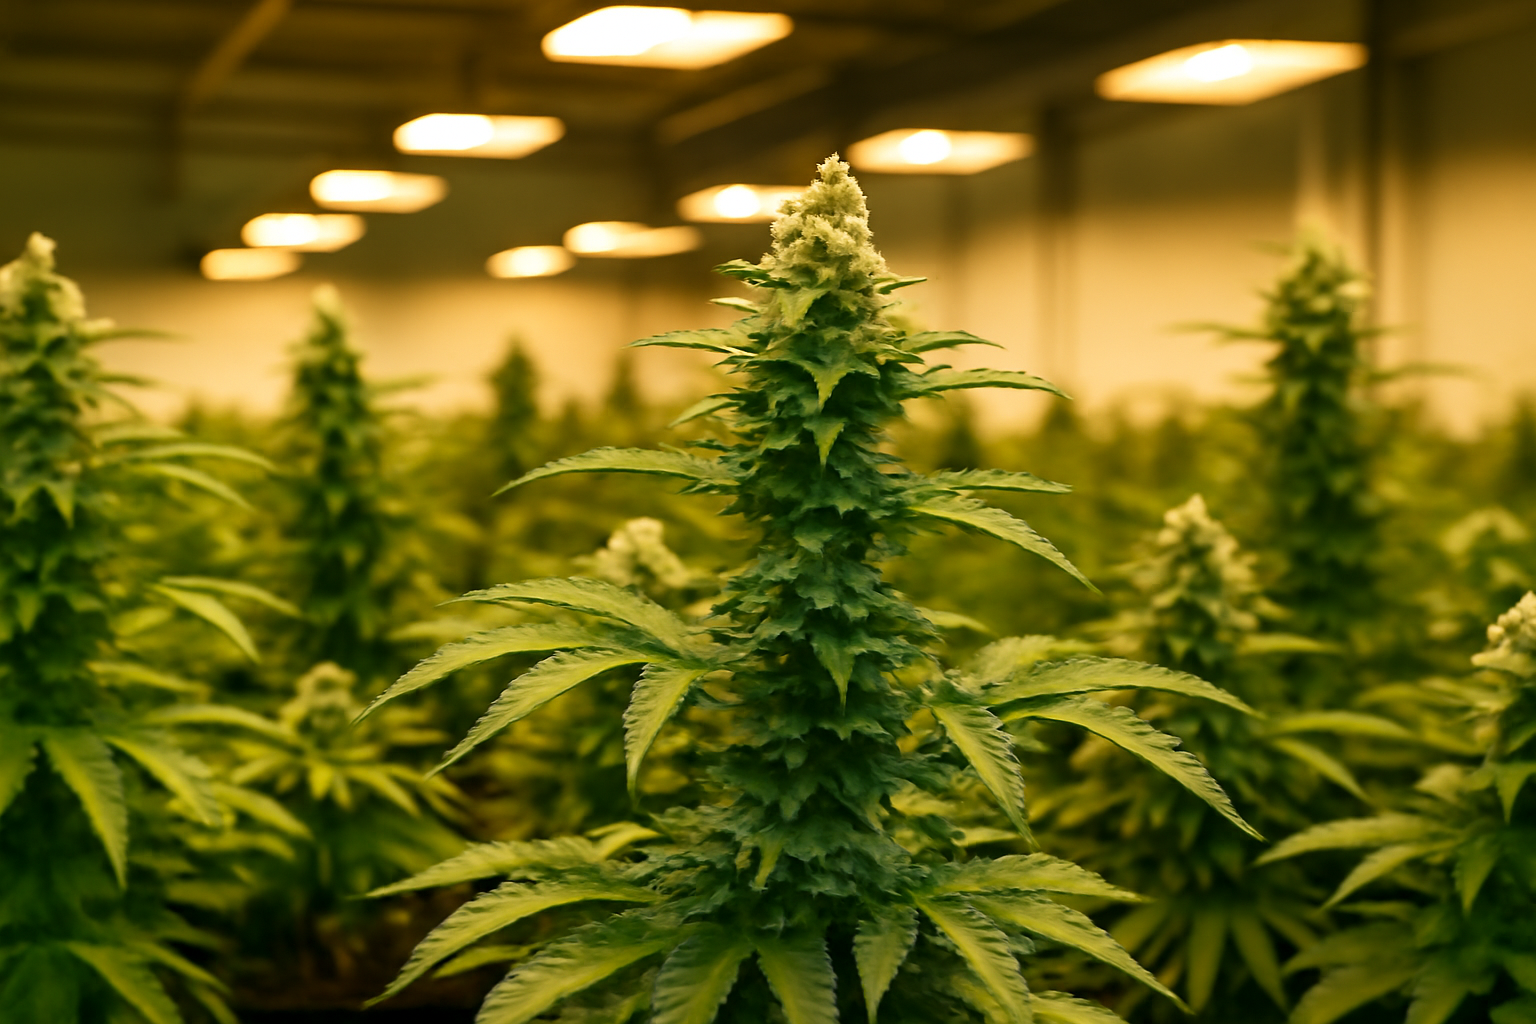
Week 5–6: Bud Fattening — Visible Swelling, Sticky Fingers
Weeks 5 and 6 are when you start to feel like a real cultivator. Buds are visibly swelling. Colas are dense. Trichomes are clearly visible to the naked eye on sugar leaves — white, glistening. The reek is serious. If you pick up a sugar leaf, it sticks to your fingers.
What to look for: Pistils are still predominantly white (80%+) at week 5. By week 6 you may see 20–30% of pistils starting to darken to orange/red. Calyxes are swelling with resin. The bud structure is taking final shape.
- Light intensity: Increase PPFD to 800–1000 µmol/m²/s. DLI of 40–50 mol/m²/day drives trichome and calyx production hard.
- Selective defoliation: Remove fan leaves blocking bud sites and any leaves sitting inside the canopy where no light reaches. Don't strip the plant — you need photosynthesis.
- Bloom boosters: PK supplements (e.g. PK 13/14-type products) are at home here. Follow manufacturer rates — more is not more with PK boosters.
- Humidity: 40–50% RH. VPD target 1.0–1.2 kPa. If you're in a humid climate, a dehumidifier is mandatory at this stage.
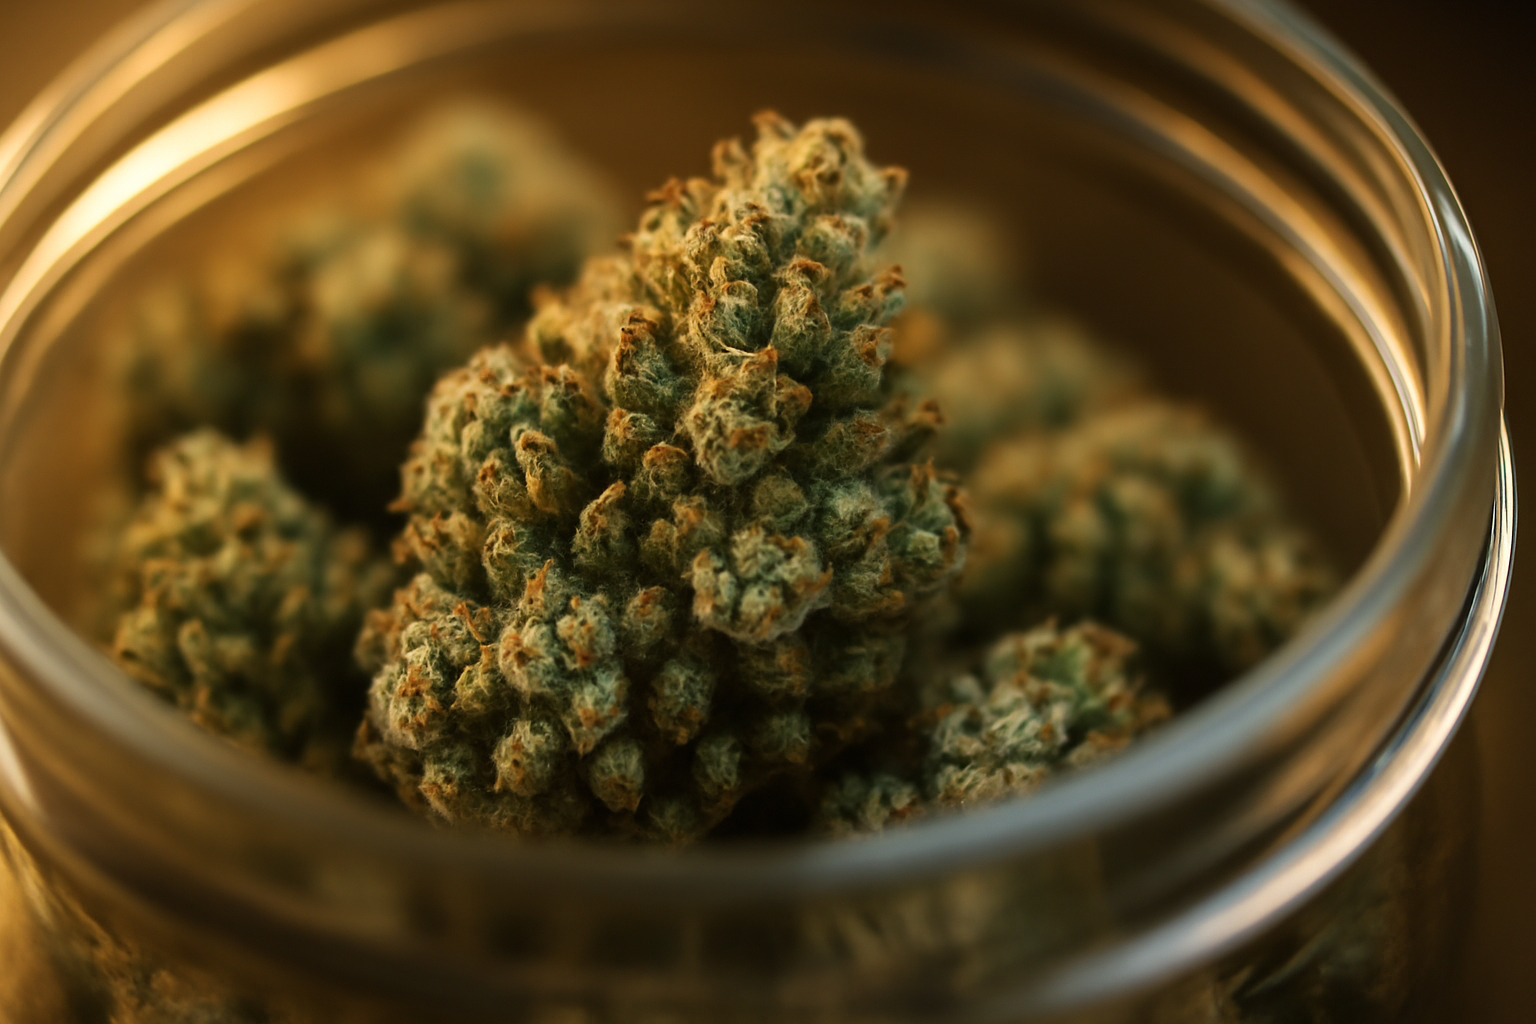
Week 7–8: Ripening — Reading Trichomes, Not the Calendar
The calendar is a guideline. Your jeweler's loupe (60–100x) or a digital microscope is the real tool here. The by week stages of bud growth pictures you've been tracking all point to this window — now you're watching individual trichome heads transition from clear to milky white (cloudy) to amber.
What to look for:
- Pistils: 70–90% have darkened to orange, red, or brown and curled inward.
- Trichomes on calyxes (not sugar leaves — those amber faster): mostly milky/cloudy with 10–20% amber indicates peak harvest for most growers seeking a balanced effect. More amber shifts the profile heavier.
- Calyx swell: Calyxes look fat and round. The bud feels dense and slightly hard when you gently squeeze the base.
Nutrient flush: 7–14 days before your estimated harvest, switch to plain pH-balanced water (6.0–6.5 soil / 5.8–6.2 coco). Some growers using organic soil skip this step entirely — the argument has merit. In synthetic coco grows, flushing is generally accepted practice. EC of your runoff should approach 1.0 or below before chop.
- Humidity: Drop to 35–45% in the final two weeks. Lower humidity slows respiration and can push resin production.
- Dark period: Some growers run 24–48 hours of darkness before harvest. Evidence is anecdotal but it costs nothing.
- Stop feeding: No nutrients during flush. Water only. Monitor for deficiency but don't chase it — some yellowing of lower leaves is expected and correct at this stage.
Harvest: Making the Cut
When trichomes meet your target ratio — typically 70–80% milky, 10–20% amber on calyx trichomes — it's time. Harvest in the morning after lights-on (or at first light outdoors) when sugars are up and moisture is lowest in the plant. Use sharp, sterilized scissors or a blade.
Estimate your yield beforehand using the Yield Calculator — helpful for planning your dry and cure space. A tight dry environment for a larger yield requires more jars and air circulation than growers often plan for.
Drying: The Stage Most Growers Rush
A slow dry is one of the highest-impact choices you can make for final product quality. Target a 10–14 day dry rather than the 5–7 days many setups produce.
- Temperature: 60–65°F (15–18°C). Cooler is better.
- Humidity: 55–60% RH.
- Darkness: UV degrades cannabinoids. Keep the room dark.
- Airflow: Gentle indirect air circulation — no fan blowing directly on buds.
- Ready when: Small stems snap cleanly; larger stems bend but don't snap. Buds feel dry to the touch but not crumbly.
Use the Dry & Cure Timer to track your dry and cure schedule precisely, especially if you're managing multiple harvests.
Curing: Weeks That Make Months of Work Worth It
Curing converts remaining chlorophyll, develops terpene complexity, and smooth out the smoke or vapor profile. Place dried buds in wide-mouth glass mason jars, filled to 75% capacity. Store in a dark environment at 60–70°F (15–21°C).
- Week 1: Burp jars 2–3 times daily for 15–20 minutes. If buds feel damp when you open the jar, leave the lid off longer.
- Week 2–4: Burp once daily, then every few days as moisture stabilizes.
- Week 4–8+: Minimum cure for quality. Many growers report significant improvement up to 8–12 weeks.
- Hygrometer: A small digital RH sensor inside the jar is worth every penny. Target 58–62% RH inside the jar during cure.
For a full walkthrough of tracking every stage of your grow from seed to cure, see our guide on keeping a cannabis grow diary — logging weekly observations is how you get faster at reading your plants each cycle. You can also use the Grow Schedule Planner to map out your full flowering and post-harvest timeline before you even flip.
Of the 1,000+ grows tracked on Grow Guide, 63.2% use soil as their primary medium — if that's you, remember that soil's buffering capacity means the visual bud development stages look identical, but your nutrient timing will lag a few days behind coco or hydro grows. Build that into your schedule.
Frequently Asked Questions
How do I know exactly which week of flowering my plant is in?
Count from the day you flipped to 12/12 (indoors) or the day you first spotted pistils (outdoors). The calendar week is a reference point — always cross-check with visual plant cues like pistil color percentage and trichome development, which are more reliable indicators than day count alone.
Why are my buds not fattening up in weeks 5–6?
The most common causes are insufficient light intensity (aim for 800–1000 µmol/m²/s PPFD), low phosphorus and potassium in your nutrient mix, or RH above 55% stressing the plant. Check your VPD and EC first — those two parameters explain the majority of slow bud development.
What percentage of amber trichomes should I harvest at?
For most balanced-effect harvests, aim for 10–20% amber trichomes on the calyxes with the remaining 80–90% milky/cloudy. Always check calyx trichomes rather than sugar leaf trichomes — leaves amber faster and will give you a misleadingly late reading.
Can I harvest different parts of the plant at different times?
Yes — this is called a staggered harvest and it's standard practice on large plants where the lower buds lag 7–10 days behind the top colas. Chop the top colas when they're ready and give the lower sites more time under the light to continue developing.
How long does the full dry and cure process take before cannabis is properly ready?
A minimum of 3–4 weeks post-harvest: 10–14 days drying plus at least 2 weeks of active curing. For genuinely quality-focused results, extend the cure to 6–8 weeks — terpene complexity and smoothness improve significantly with time in the jar.